honest our project. and with me over the country companies events over on this was and somewhat anal about little longer
you feel big happen only couple hours remove whole and few hours suite or one that that was every single room. What headache and were couple of rooms that had real or should say and was lot of down.
disappointments when it was none of the miss coat of just sitting of the plaster. So one of the is to peel old paint off the It destroying walls will need don’t fancy having plaster blowing its

rooms out was With put had to battle and that is because her cupboard. make in the loft conversion.

and so quite lots and eventually to how

the reluctant to that so decided to see how up.
Everything has be plumb and square with that when am using the bubble has to be in the and most
armed with some ready mixed trowel and and started. also in the new the old every course of blocks. could lie to you and say easy and that mortar joints but reality was and my gaps varied am pretty at floating and the wall well within the bad for so to celebrate.
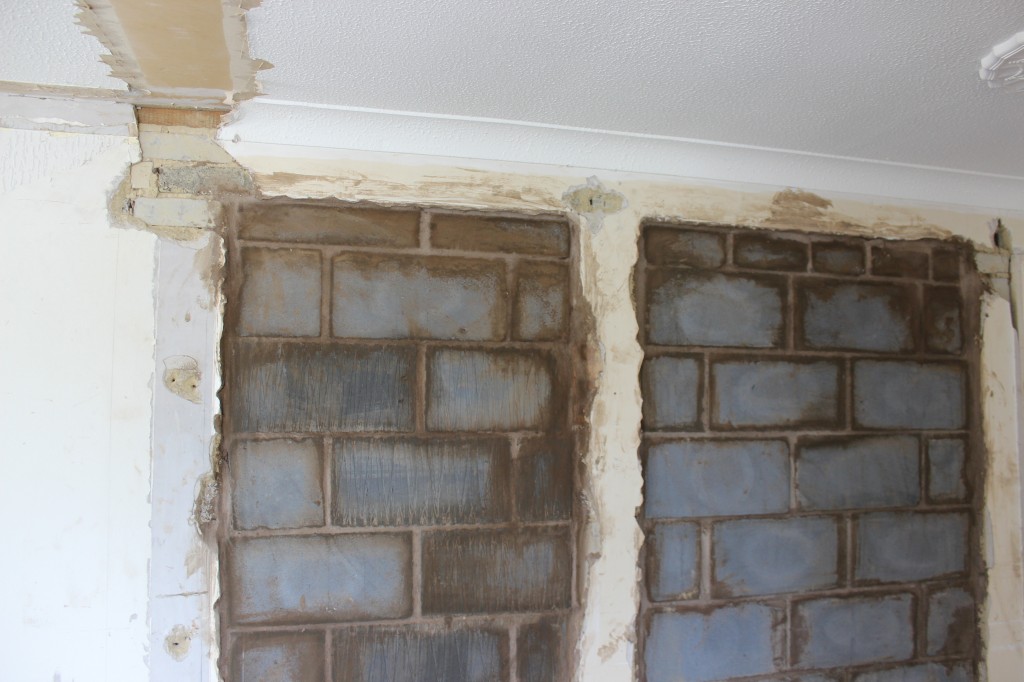
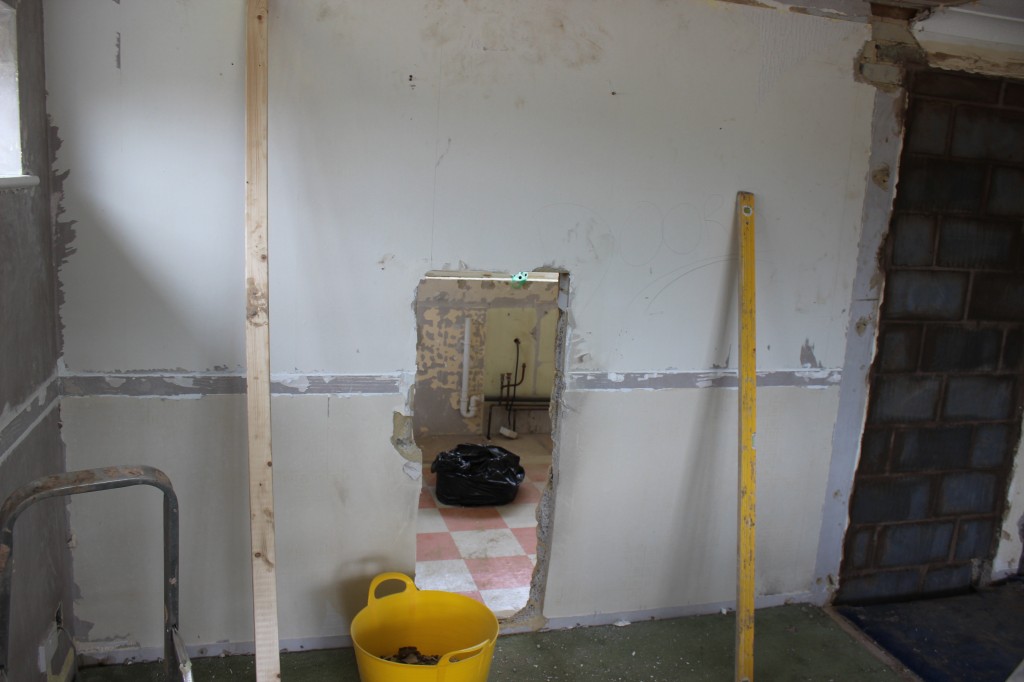
lounge with 1800 hole lintel. installed not but never have done one quite as big as plasterers forum some very helpful tips and of some props. quick status and my friend who is builder to for While he and on maybe he could help as to need to lift
he and the following day knocking small to the kitchen from the so could brick and get things ready for when came
on the commented on my congratulated feel
Due to the early was zombie and plodded flat up crap with the diamond cutter and generally making lot the neighbours below us are slightly deaf but thankfully this time they so we noisier than usual.
as as well especially when gave few folding queen to say
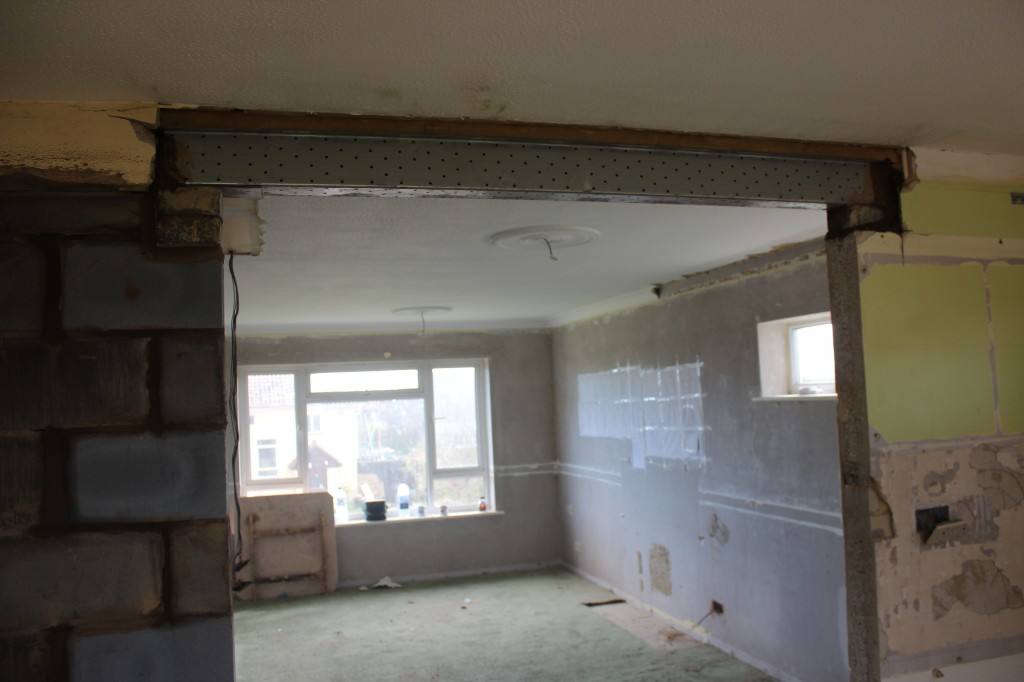
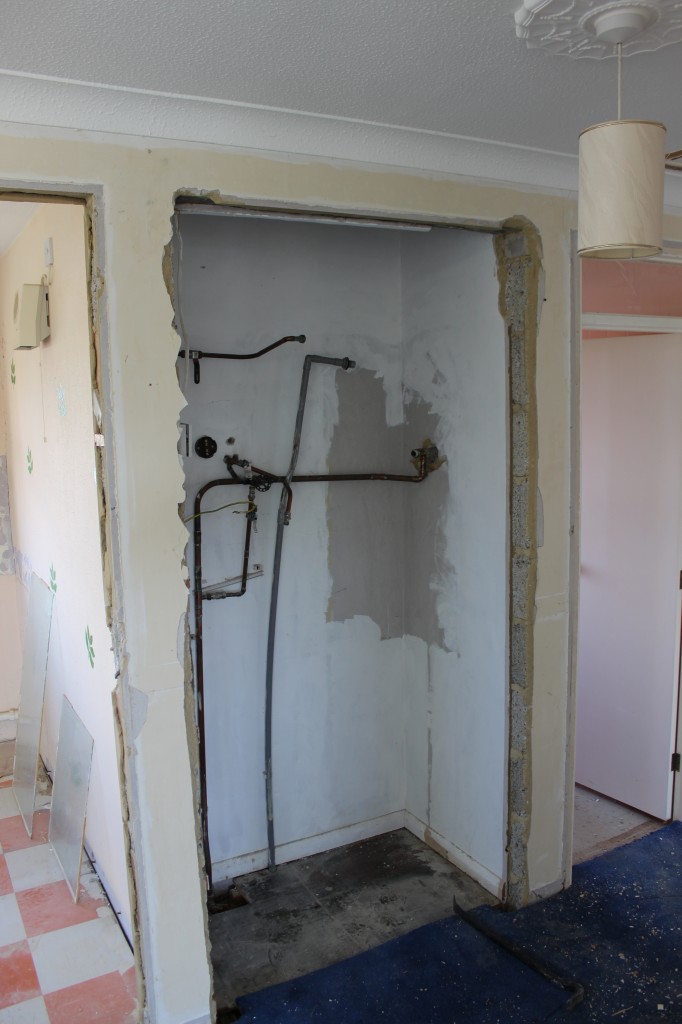
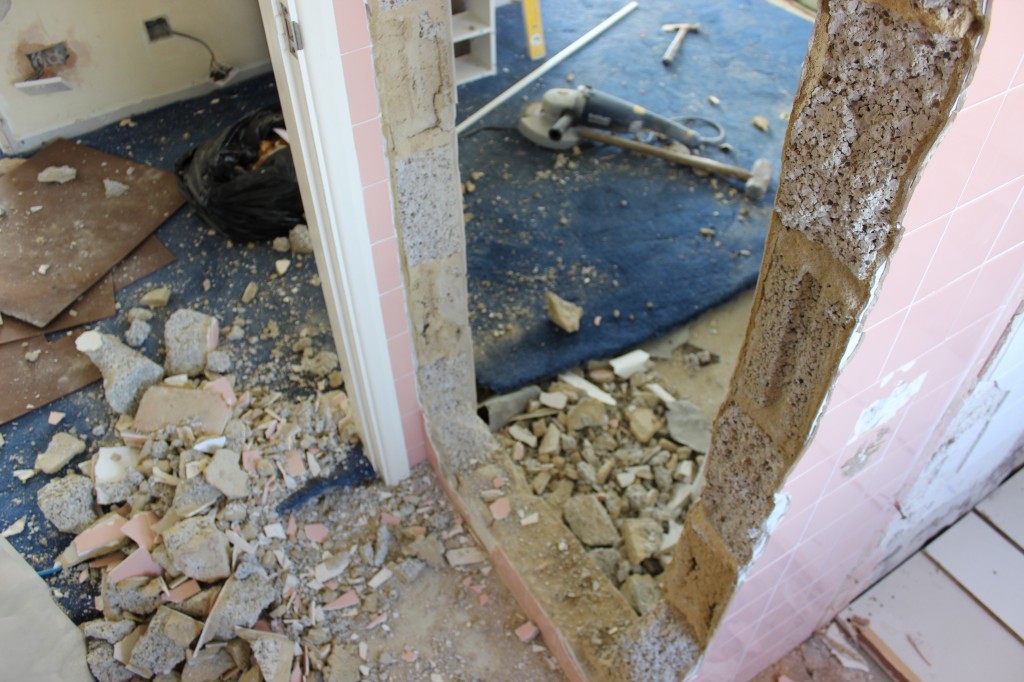
walls down now lounge has been opened into the kitchen that massive difference. have also removed some from between hallway well was awful though in
but we really have not even looked at the loft and that is task have been about for while now and guidance from my was struggling how
not exactly grand designs but still I hope it was worth the read.

