The staircase on our loft conversion has been a headache from day one, We obviously had to comply to building regulations but not only that but also try to keep the feeling of space throughout our property and try to make it work so that we don’t lose too much space in the main bedroom and also keep the hallway to be as big as it looks.
You can read about the stair headache here.
So now that we are at a stage where the stairs are in, and we have plasterboarded the hallway and generally getting ready to skim I really needed to start looking at the underneath of the stairs and see how I can plaster that into the existing and make it look like it is meant to be there.
I have plastered a number of stairwinders in the past, but the meshing part has always been done before I have got there so it was a bit of a grey area for me, and so I decided that seeing as I have the biggest plastering resource at my fingertips then it would be a good idea to go and ask on The Plasterers Forum®. I was given lots of help and advice and after reading it all I had a good idea in what was needed to carry out the task in hand and I was confident.
So this is what we started with….
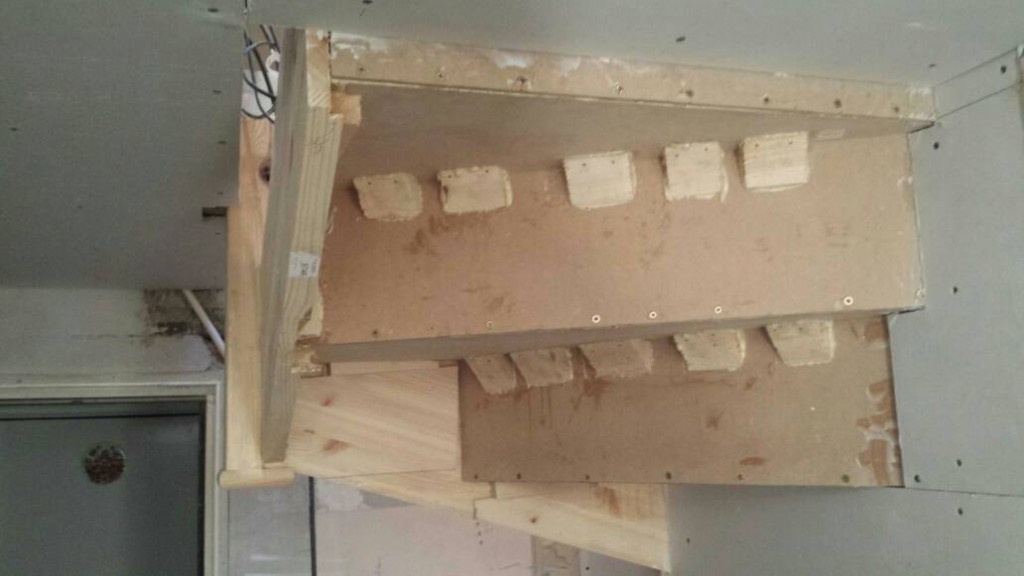

So as you can see its a big lump of timber and to be honest it really did encroach on you as you came in the front door and the first thing everyone said, “bet you hit your head on that…” Which I never did, but still it is something that I needed to think about.
A few chats with my chippy and he took a very sharp saw to it and cut the string right down, and we made a new newel post to support it and also so it continued up and took a hand rail further up the stairs so it was win win on that front…
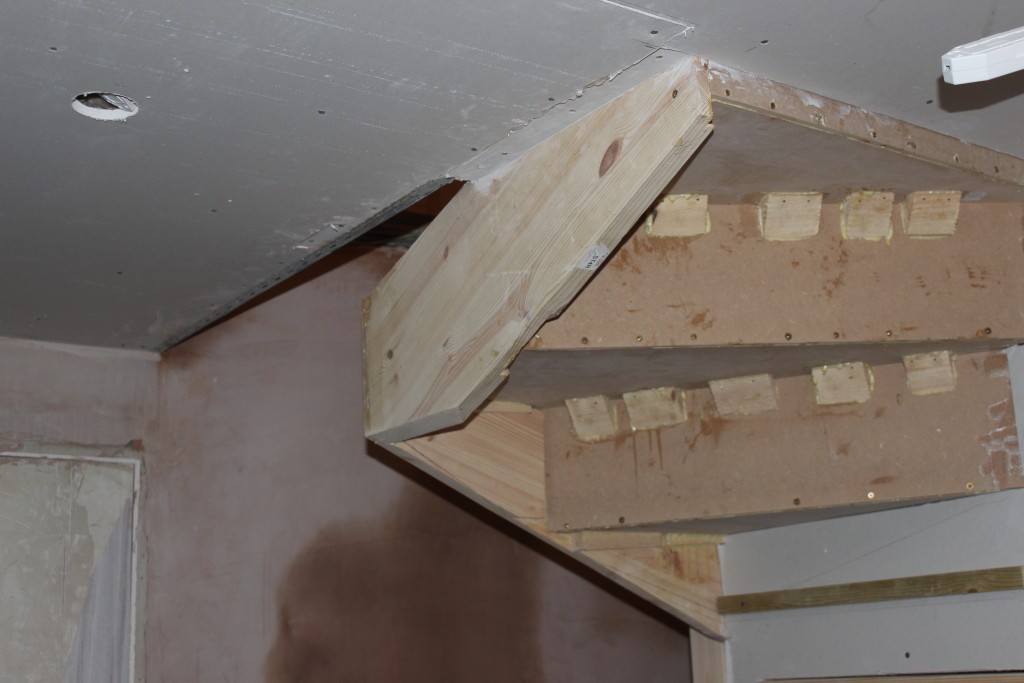

As you can already see it has made a massive improvement already, and now you can potentially see a shape that can be formed and a few bits of roof batten to start making plans and generally tinker about until I get a shape I like and so that it flows.
More battens in and a bit of mesh…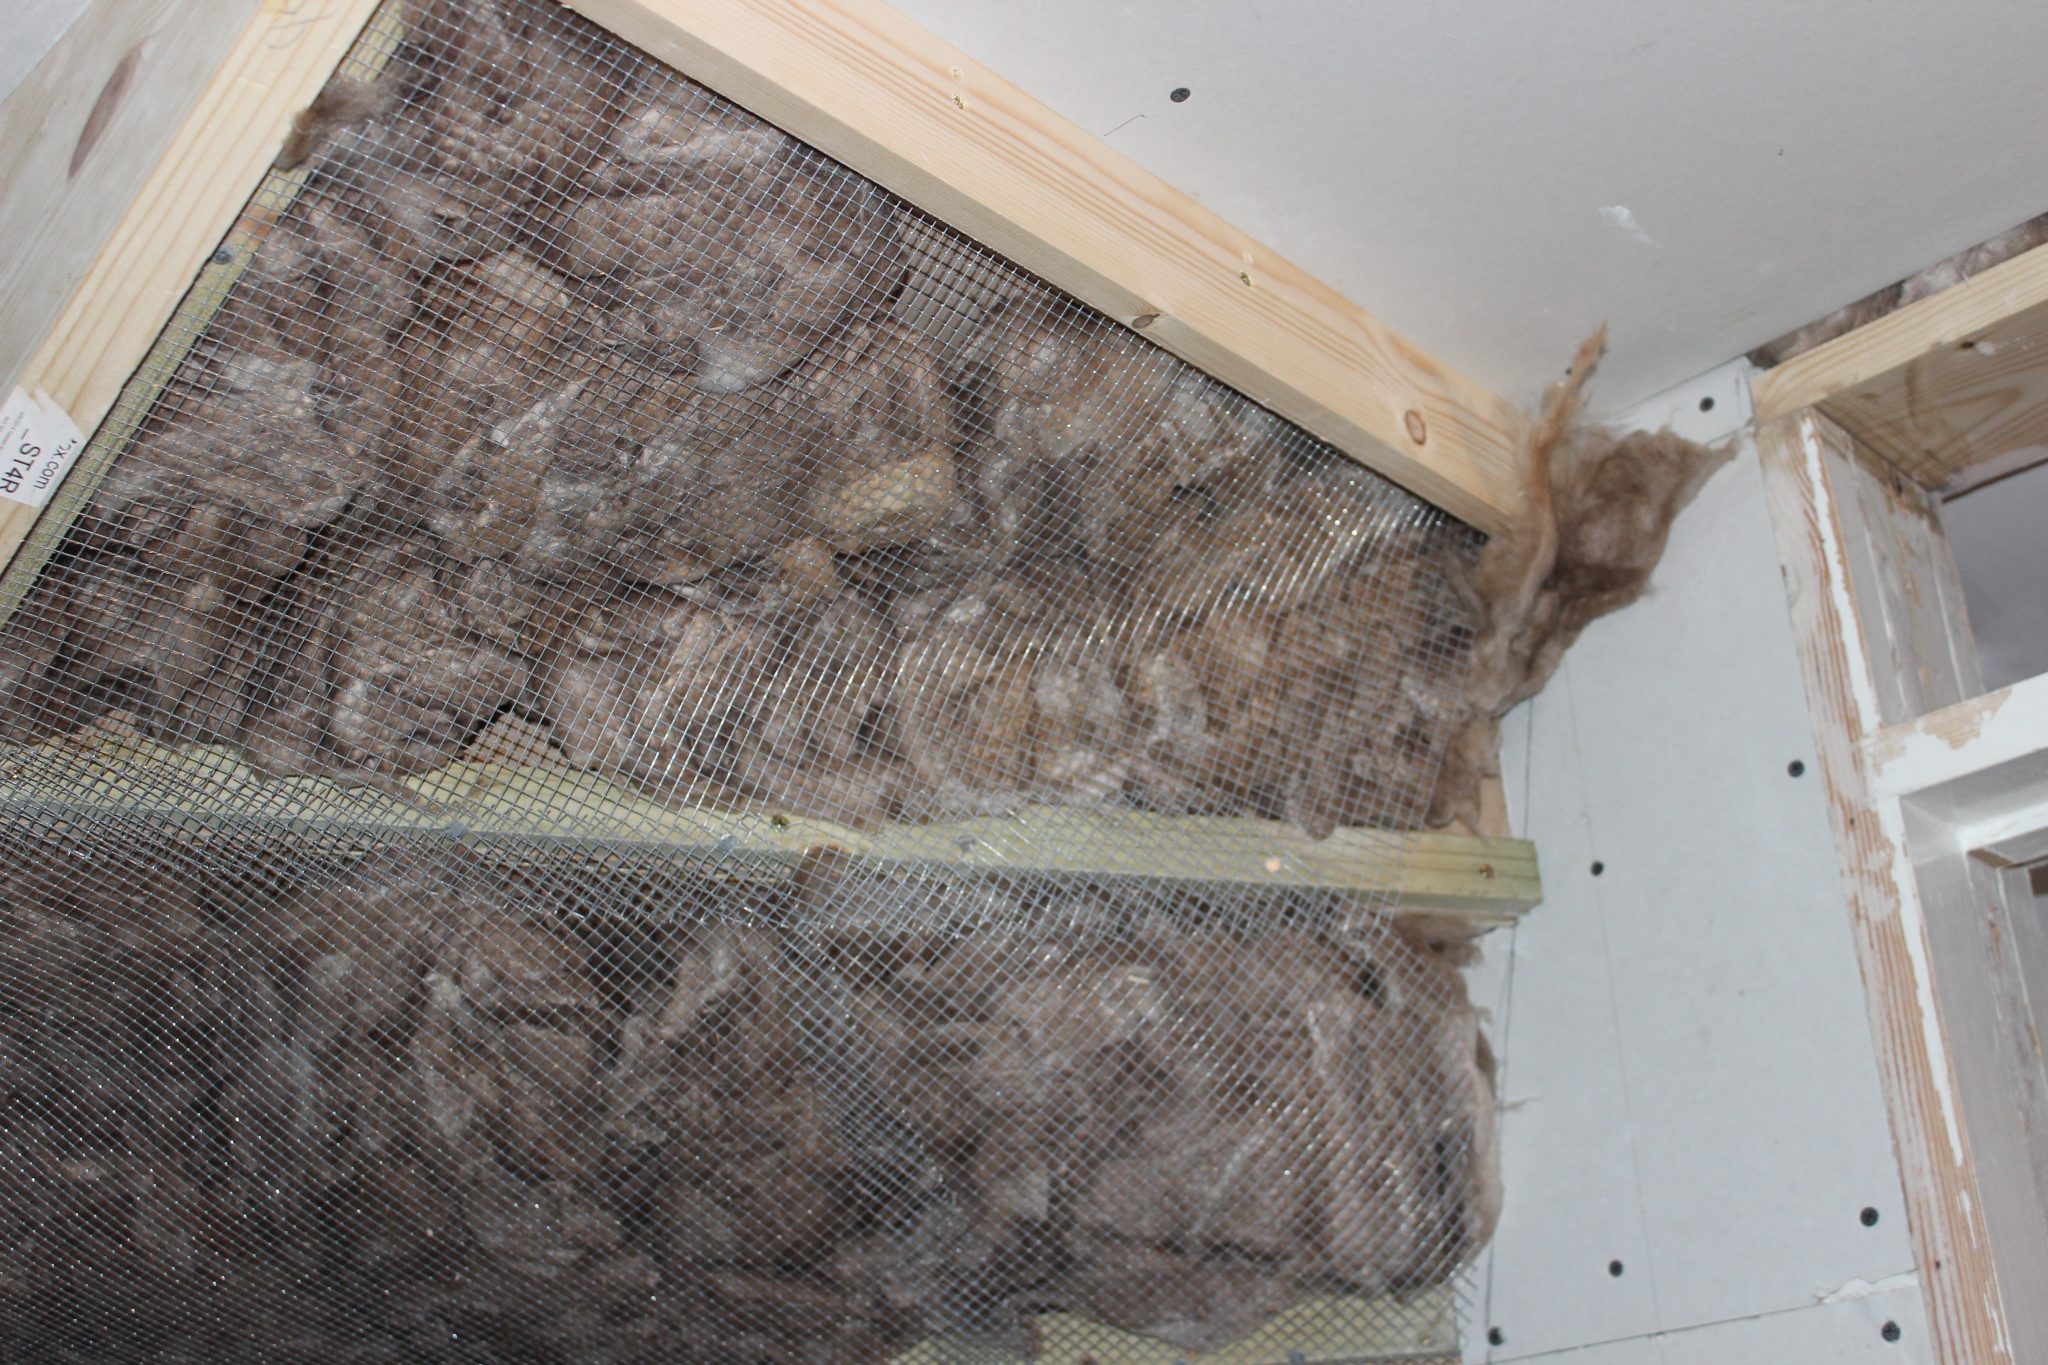
Stuffed the stairs with some sound insulation for good measure and tacking/screwing the mesh to tighten it up as I did not want any flex in in it

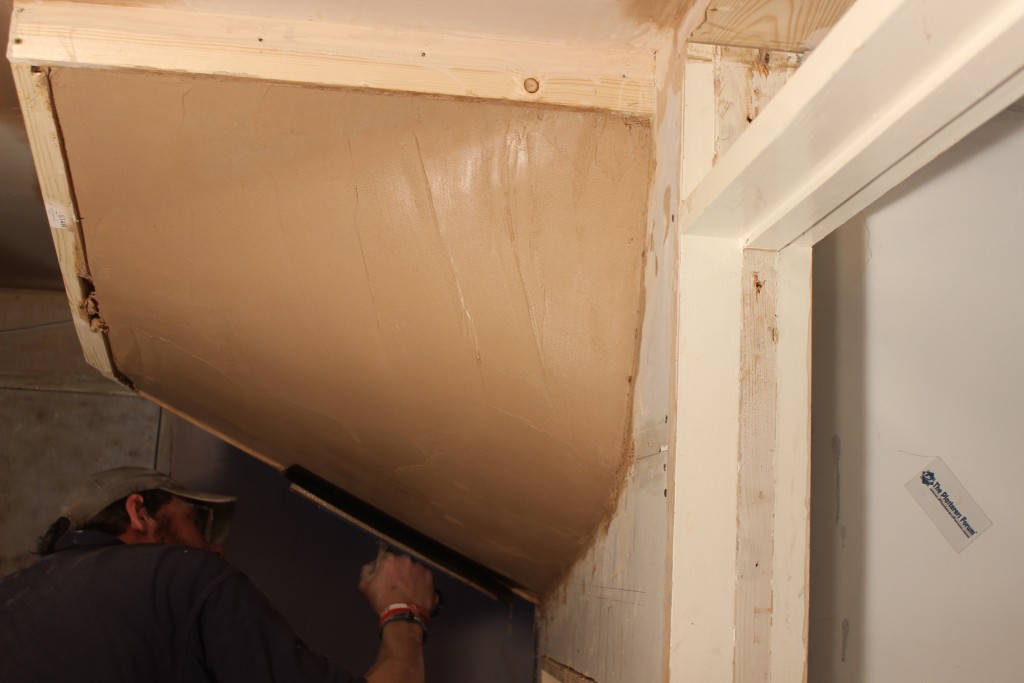
The next stage after making sure all the mesh is nice a tight and secure, was to get a tight coat of bonding on and start getting the shape I was after…


It’s an awkward shape and took a bit of getting and another coat of bonding, and it was ready for me to skim the next day… I did give the surface of the bonding a key and quick lick over with some PVA because it was a bit smooth.
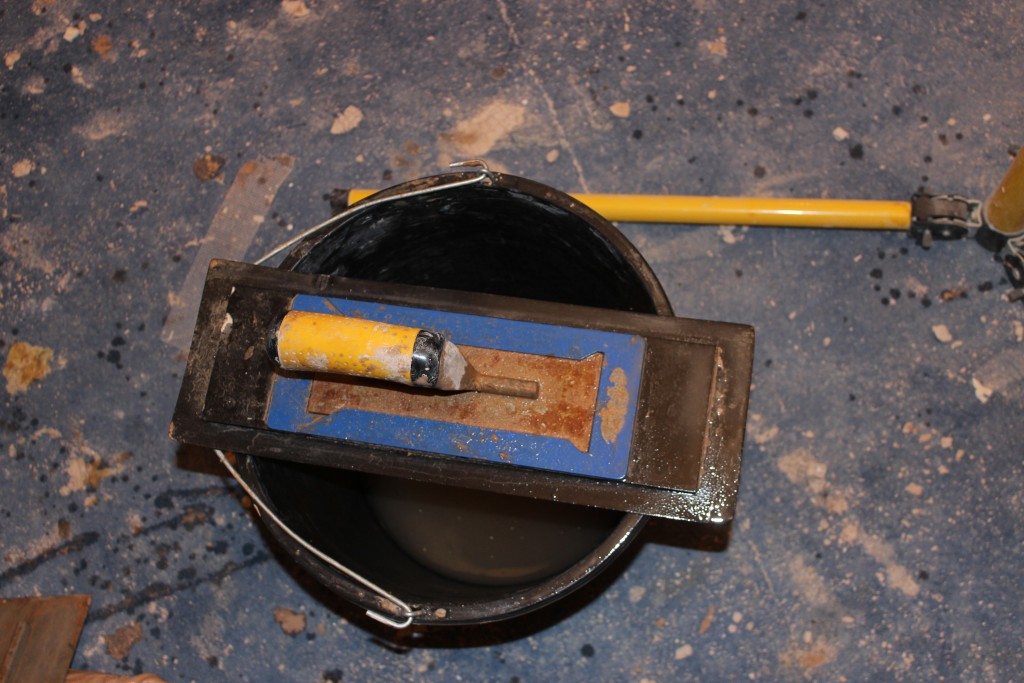
First coat of finish and bonding mix went on fine, and I soon started flattening in with the plastic trowel I had in my tool bag… Yes I said Multi Finish and Bonding mix, Its a mix of about 50% bonding and 50% multi finish, it gives the first coat a bit more body and to be honest it’s a tip I got from the plasterers forum, and it is a brilliant little trick that I will be using a lot in the future.
A plastic trowel flexes and moves nicely with the stair winder and makes light work of getting the shape that you desire, I don’t know how we would have survived without these inventions, they are definitely worth having if you don’t already have one. Especially for jobs like this where they really do come into their own.
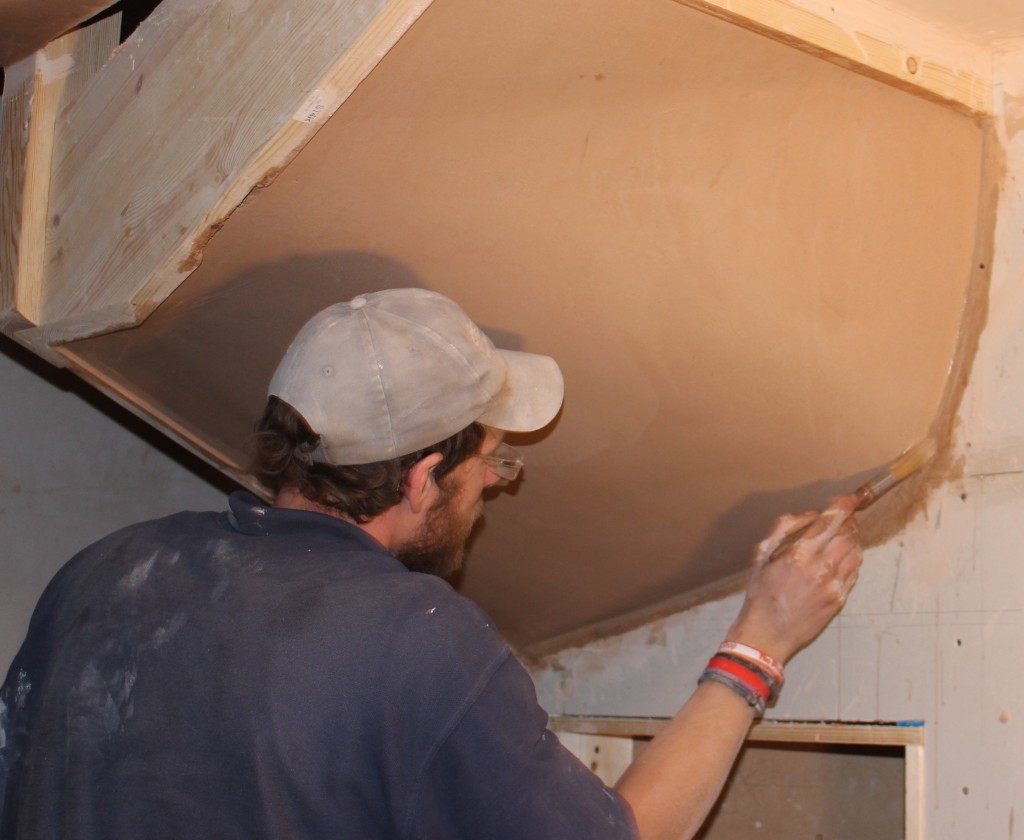
It was an awkward as hell shape to do and the only way I could get it to work was with a plastic trowel. I let it firm up a lot more than I would normally and then toppped it out with another coat of British Gypsums Multi finish but this time it was just a straight multi finish mix and was slightly wetter than the first coat.
Once again I let it firm up and the troweled it off with the plastic trowel again and when it was firm enough I through that away and finished it with a a Nela Superflex trowel which in my opinion is the only way to finish a surface these days.
A quick whip round the dodgy edges with a brush and I was quite happy with the shape and the finish….

This is one of the areas that I am most proud of not because of the loft conversion but because II built the stairs as well, and this stair winder makes a great feature and is exactly how I visioned it all those months ago.
Thanks again for all the support and help from our sponsors and the companies which have donated materials and offered technical support as I have come across a lot of problems and the Plasterers Forum and the connections I have made have made this job a lot easier.
