![]()

The biggest manufacturer of heat resistant plaster Vitcas has come on board the plasterers forum and plasterers news to help us educate the plastering world about heat resistant plasters and how they should be used.
One myth that always makes me laugh is that plasterers and the public think that fireline plasterboard is ok to use in a fireplace where a log burning stove is to go. Honestly, it is not ok. Fireline plasterboard is designed to slow down the spread of fire, and it is not heat resistant. I have seen it used hundreds of times by builders especially, who think it will be fine, but the reality is it is not the right product.


If a job is worth doing it is worth doing right, and that is why using Vitcas Heat resistant plaster is the way to go.
I am going to go quickly over the process that Vitcas suggest and hopefully will be able to shed some light on what to do.
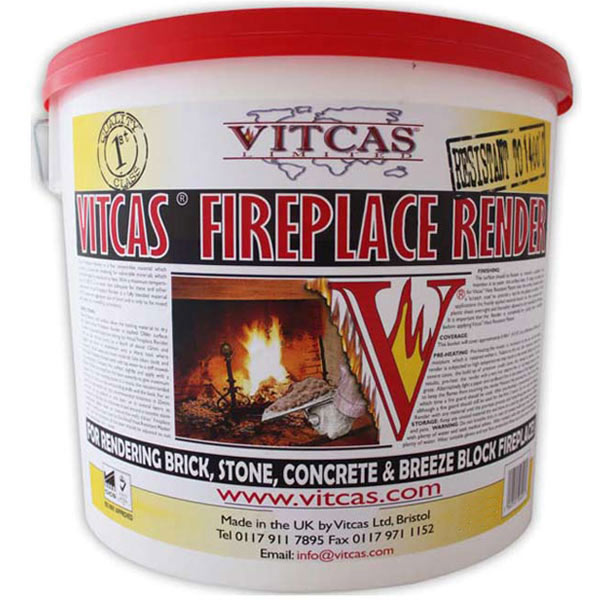
We are going to be talking about two of the products that Vitcas supply, the first one is Vitcas Fireplace Render, and this is the one to use where it is going to get really hot, and I mean up to the temperature of 1400°C. The other Vitcas Heat plaster is the finishing plaster that is only resistant up to 650°C
The Vitcas Fireplace Render is going to be in most cases used as a scratch coat for the finishing heat plaster unless the temperature is going to exceed 650°C then you will have to make do with just the render finish.

You don’t have to use Vitcas on the whole chimney breast unless the heat will exceed around 50°C, Just use it on the sections of the fireplace that are going to get hot. This tends to be inside the fireplace and around the front up to about 300mm. Once again use your common sense and if in doubt you can do the whole fireplace to be sure but you will be throwing money away unnecessarily.
The ones I have done in the past I would take off the existing plaster and reset my float beads then apply the Vitcas Heat Resistant render and then blend sand and cement into the Vitcas render.
Mix the Vitcas Fireplace Render with cold water, I know it sounds obvious but you would be surprised, and this guide should give you an idea of how much water you will need to add to get it to the right consistency. A rule of thumb is 200ml of water to every kilo of material.
1kg Of Heat Plaster needs 200mls of water
10kg Of Heat Plaster needs 2 liters of water
20kg Of Heat Plaster needs 4 liters of water
If you are going over bare brickwork, then dampen down the bricks to kill some of the suction and make sure that you rake out the mortar joints by about 10 to 12mm to give the heat resistant render something to really bite into. If you see it necessary you may need to roughen the brickwork up a bit to give the bricks more of a key for the plaster to grip to, but only you can make this decision.
Vitcas recommend that you start from the bottom and work upwards to give maximum support but being a plasterer you will know what you need to get the gear on the wall.
How thick does Vitcas Fireplace Render need to go on?
For a free standing stove in a recess, the recommended thickness is 12mm on the surrounding walls and back and for an open fire that has a log basket or similar the recommended thickness is 25mm and this can be applied in one coat of multiple coats until the desired thickness is there.
A quick lick over with the devil float to create the key as you would float any other wall, and then Vitcas say you need to leave it to stand for three days to dry out properly before you top it out with the Vitcas Heat Resistant finish plaster. The room needs to be about 20°C or warmer to ensure it dries out properly.
You will be able to tell if the plaster has dried properly by taking a look at the colour and make sure it has dried 100%.
Now you can use the render coat as a finish coat, and that is fine and if that is the case, then you won’t need to key up the surface. However, if you want the smooth finish as you would achieve with a British Gypsum’s multi-finish plaster, then you will need to leave the scratches in from the devil float and apply the Vitcas finish plaster.
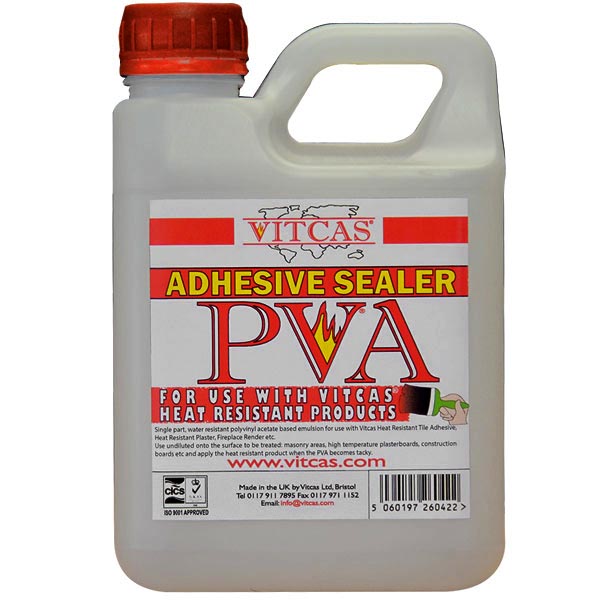
After three days has past come back and give the backing coat a light scrape back to get rid of any high spots caused by the devil float (like you would before you skim sand and cement) this also makes sure that the surface is free from lose plaster and what not. Then get the Vitcas Heat Resistant PVA and lash that on undiluted. You can now get the top coat of heat resistant plaster on while the PVA is still tacky.
You mix the finish coat of heat resistant plaster to the same consistency using the same amount of water as the render coat, but here it is again for you.
1kg Of Heat Plaster needs 200mls of water
10kg Of Heat Plaster needs 2 liters of water
20kg Of Heat Plaster needs 4 liters of water

You need to be aware that Vitcas Heat resistant plaster is very difficult to sand when it has dried so you do need to make sure that you have got it perfect and if needs be they do supply a heat resistant filler as well. If you do mess it up, you can PVA and reskim with the plaster again once it has dried, but this is an added cost but an option that could get you out of trouble.
Once you have finished using the plaster, you now need to leave the fireplace for three days before painting or turning on the log burner or lighting the fire. This is a very important part of the process as the plaster needs to be fully cured before it is 100% effective.
Once Vitcas Heat resistant plaster has dried, it goes a light grey colour and a 20KG bucket will/ cover around 2m2 at a thickness of about 6mm.
Vitcas Heat Resistant Plaster PDF Download information sheet