


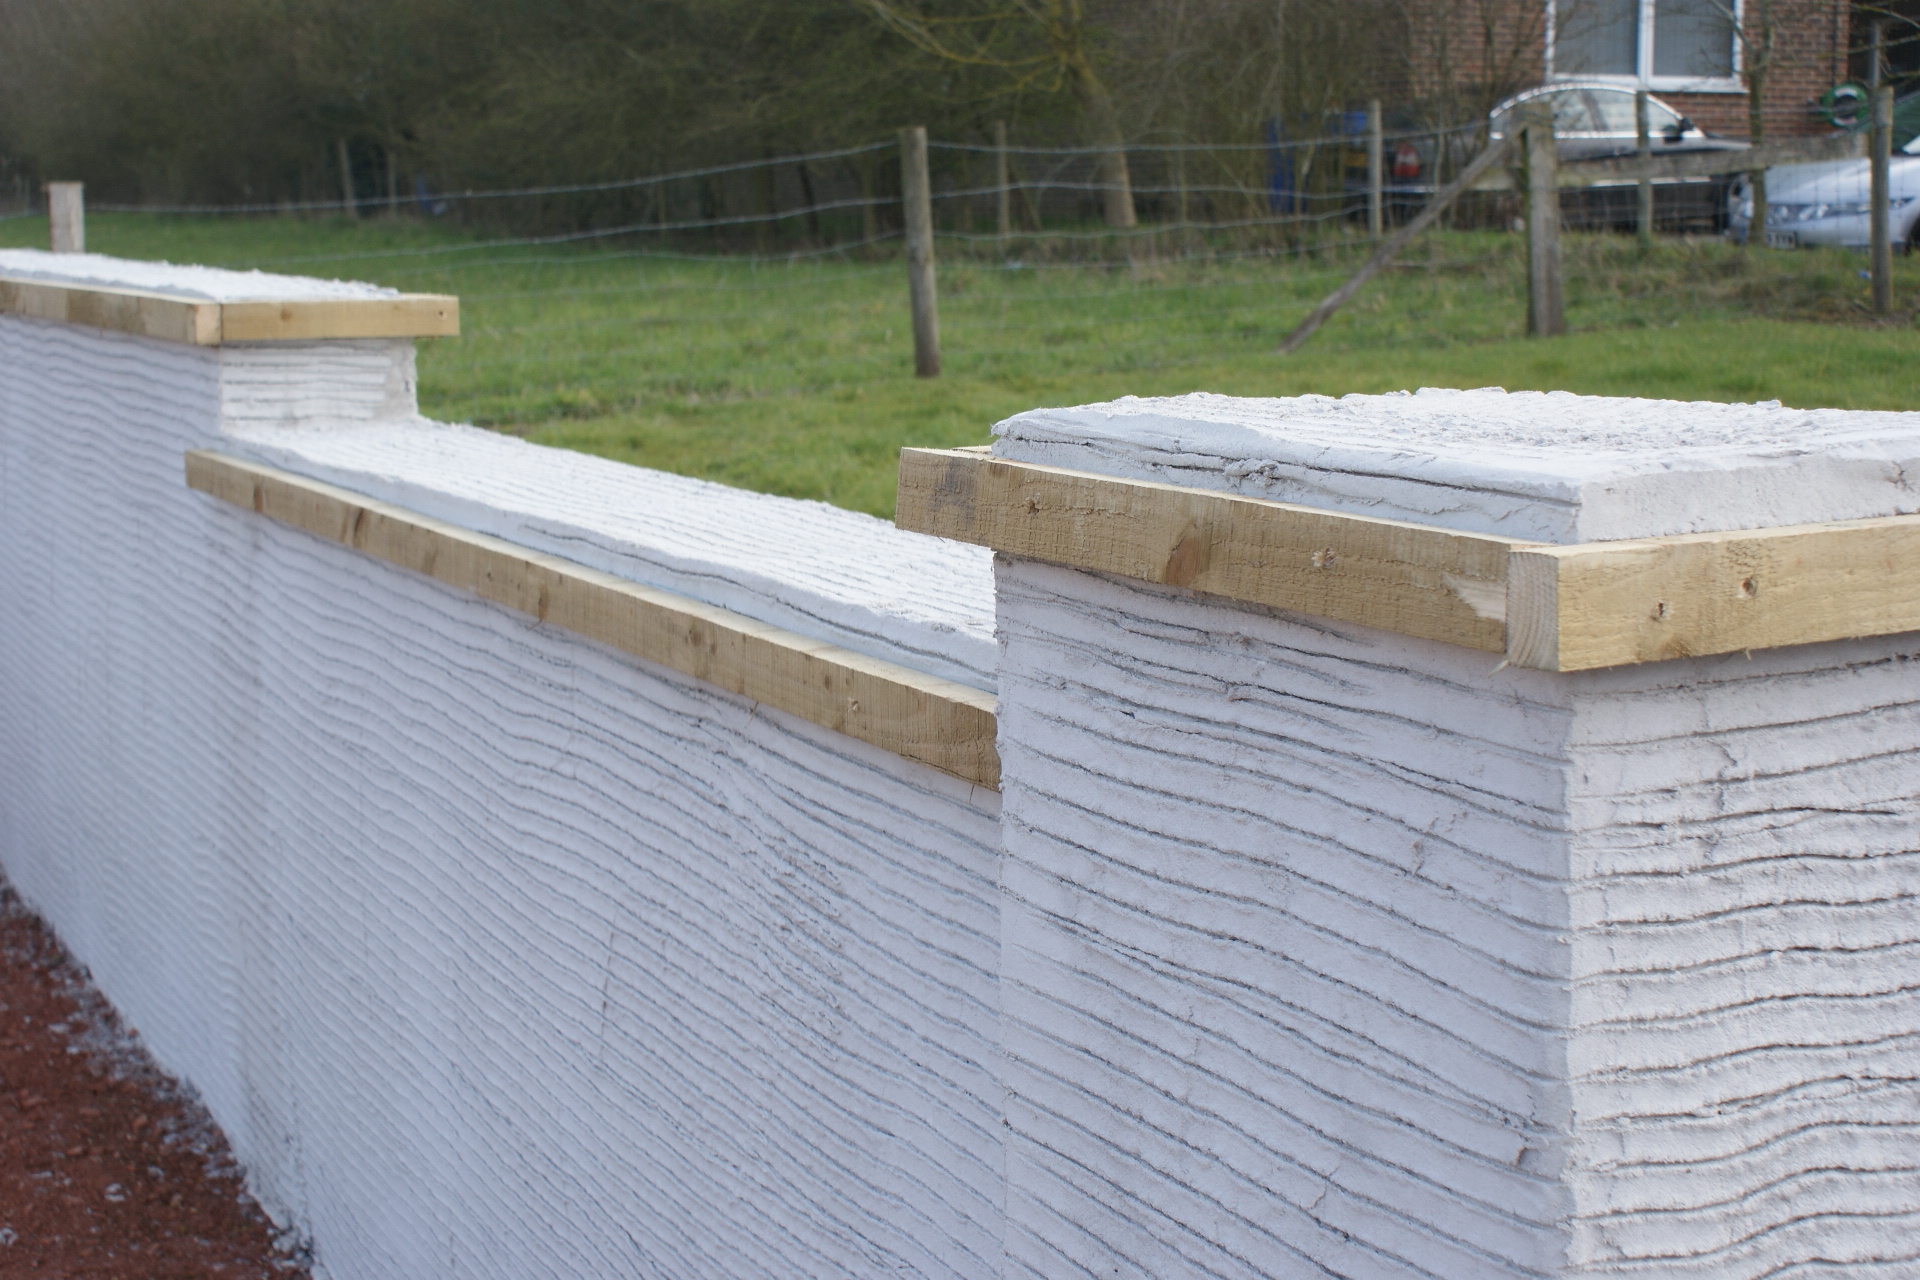
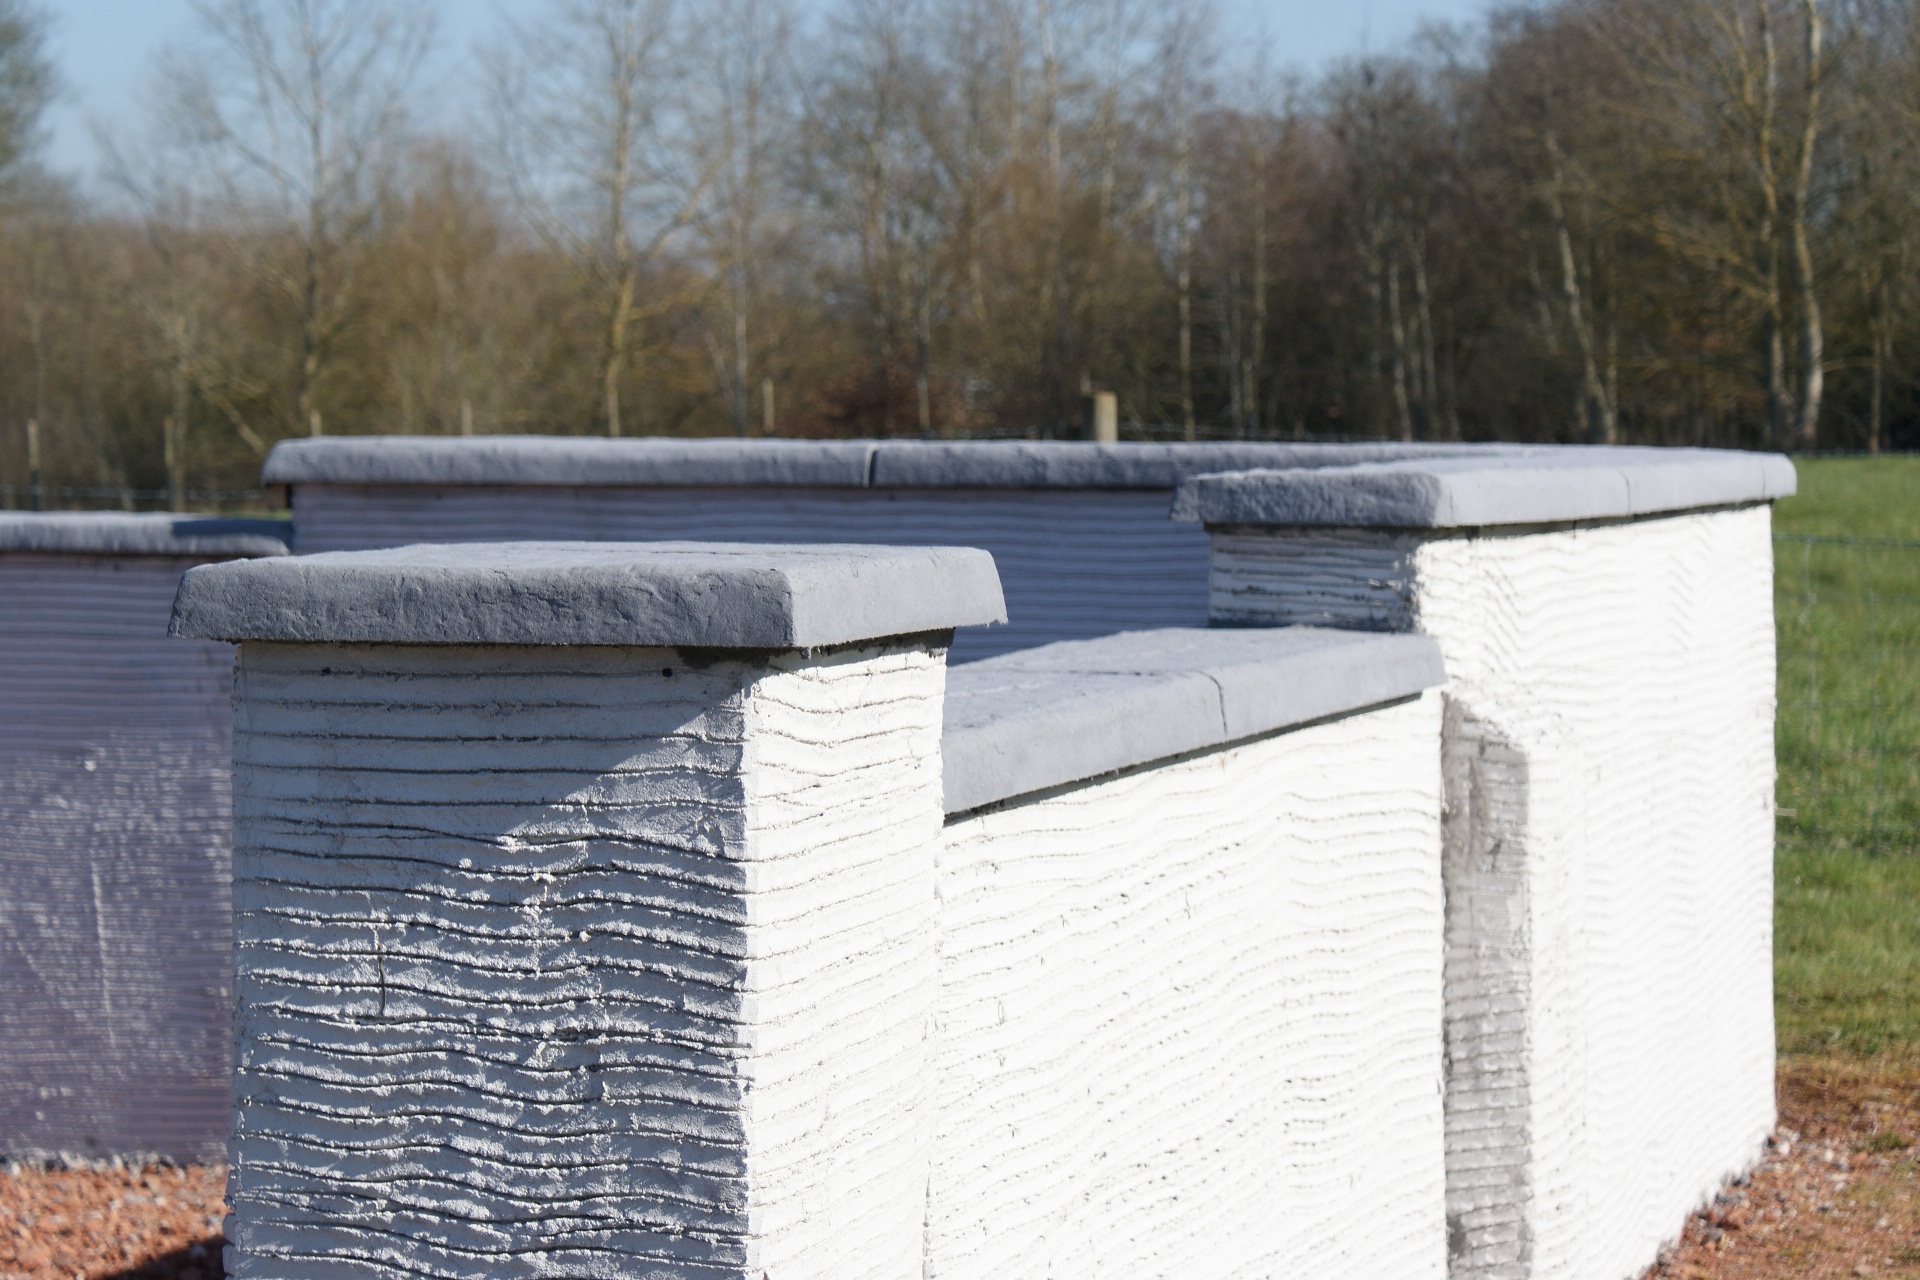
In this clip, we will look at constructing a beautiful stone effect coping stone using Wallcrete. A very similar methodology also enables Wallcrete to be used to form traditional looking stone effect lintels, pillar caps, quoin stones and plinths. In addition wood effect surfaces can be created to form very realistic wooden beams.
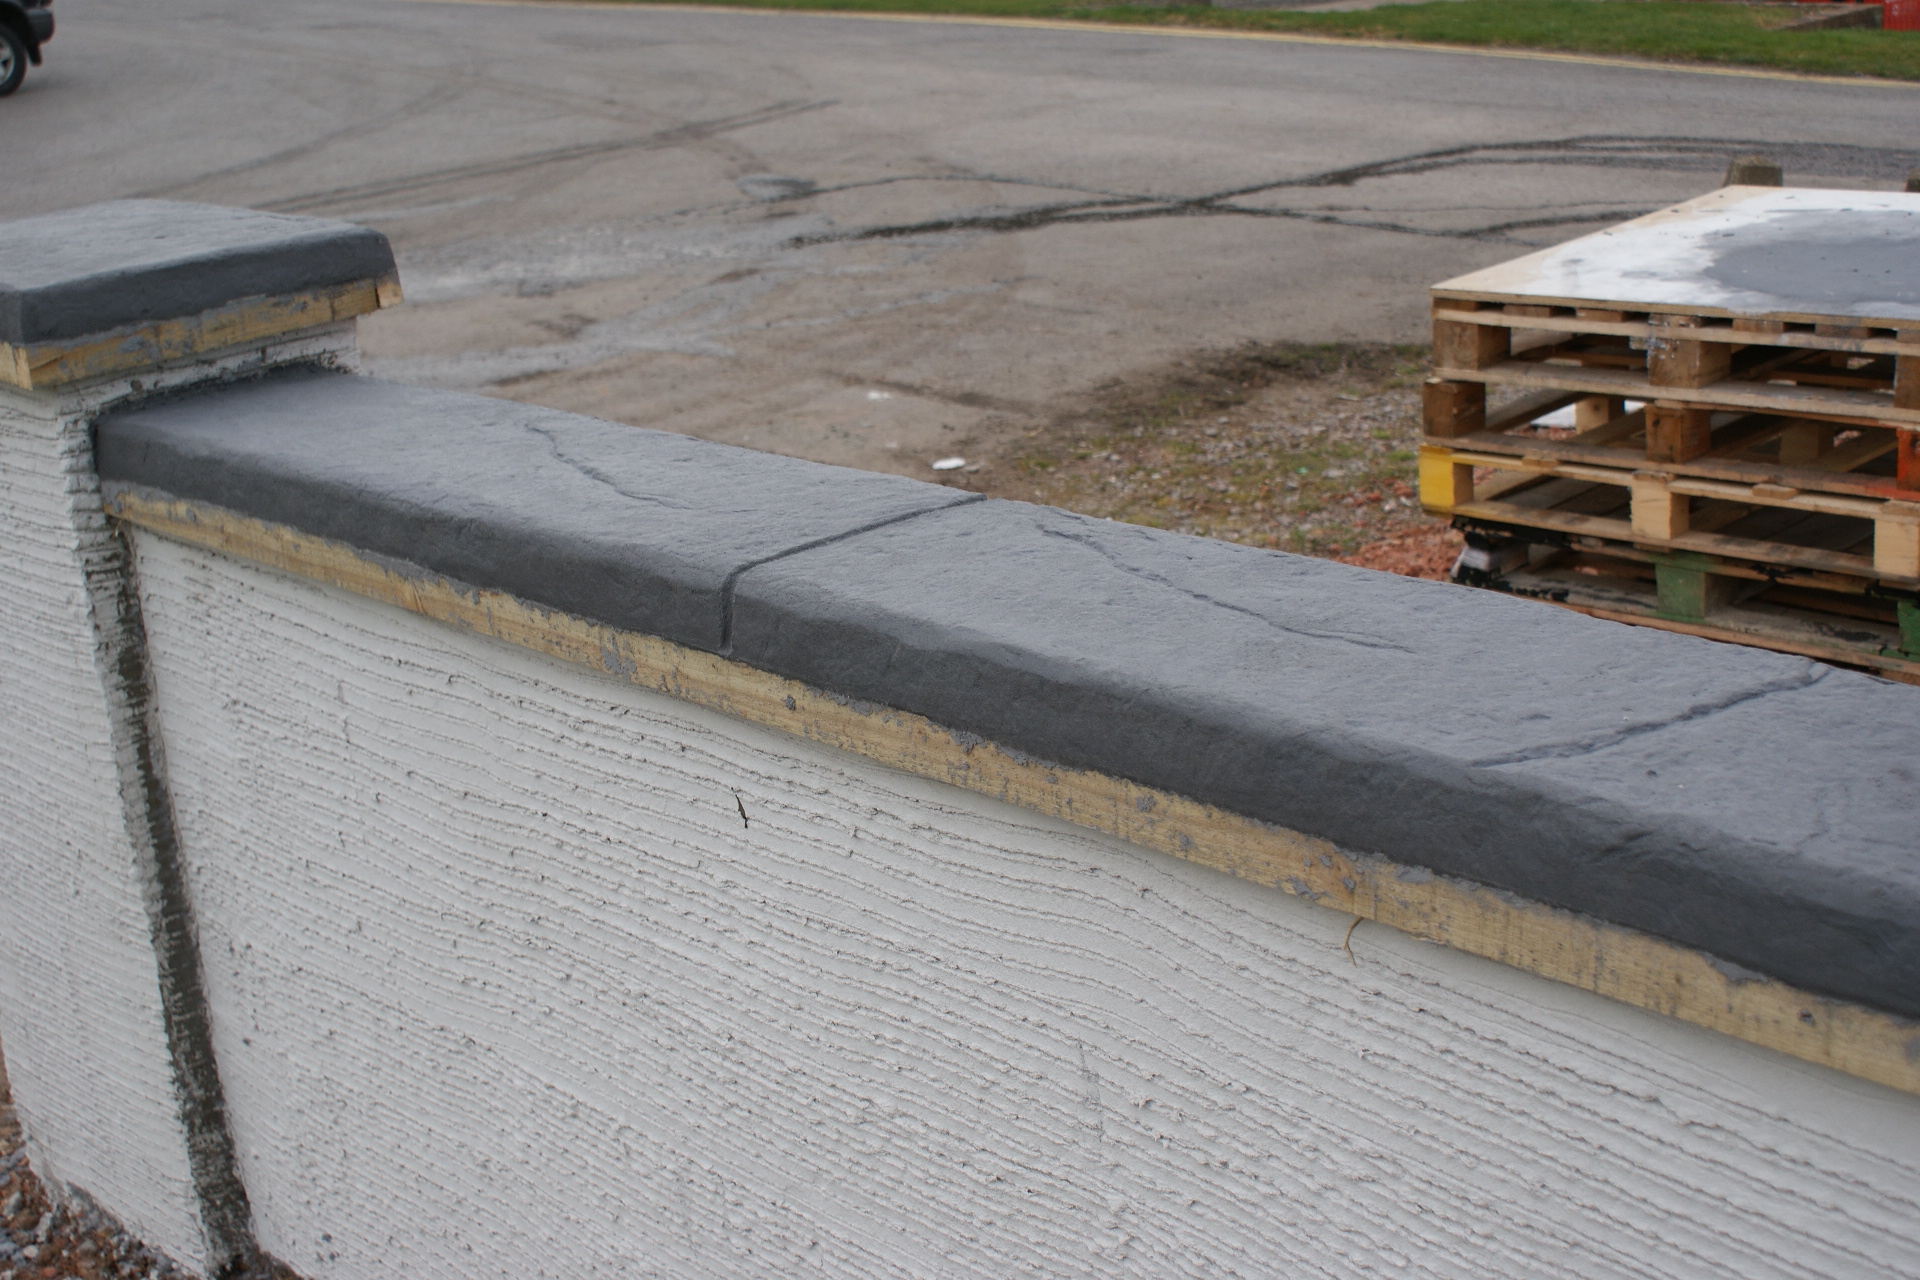
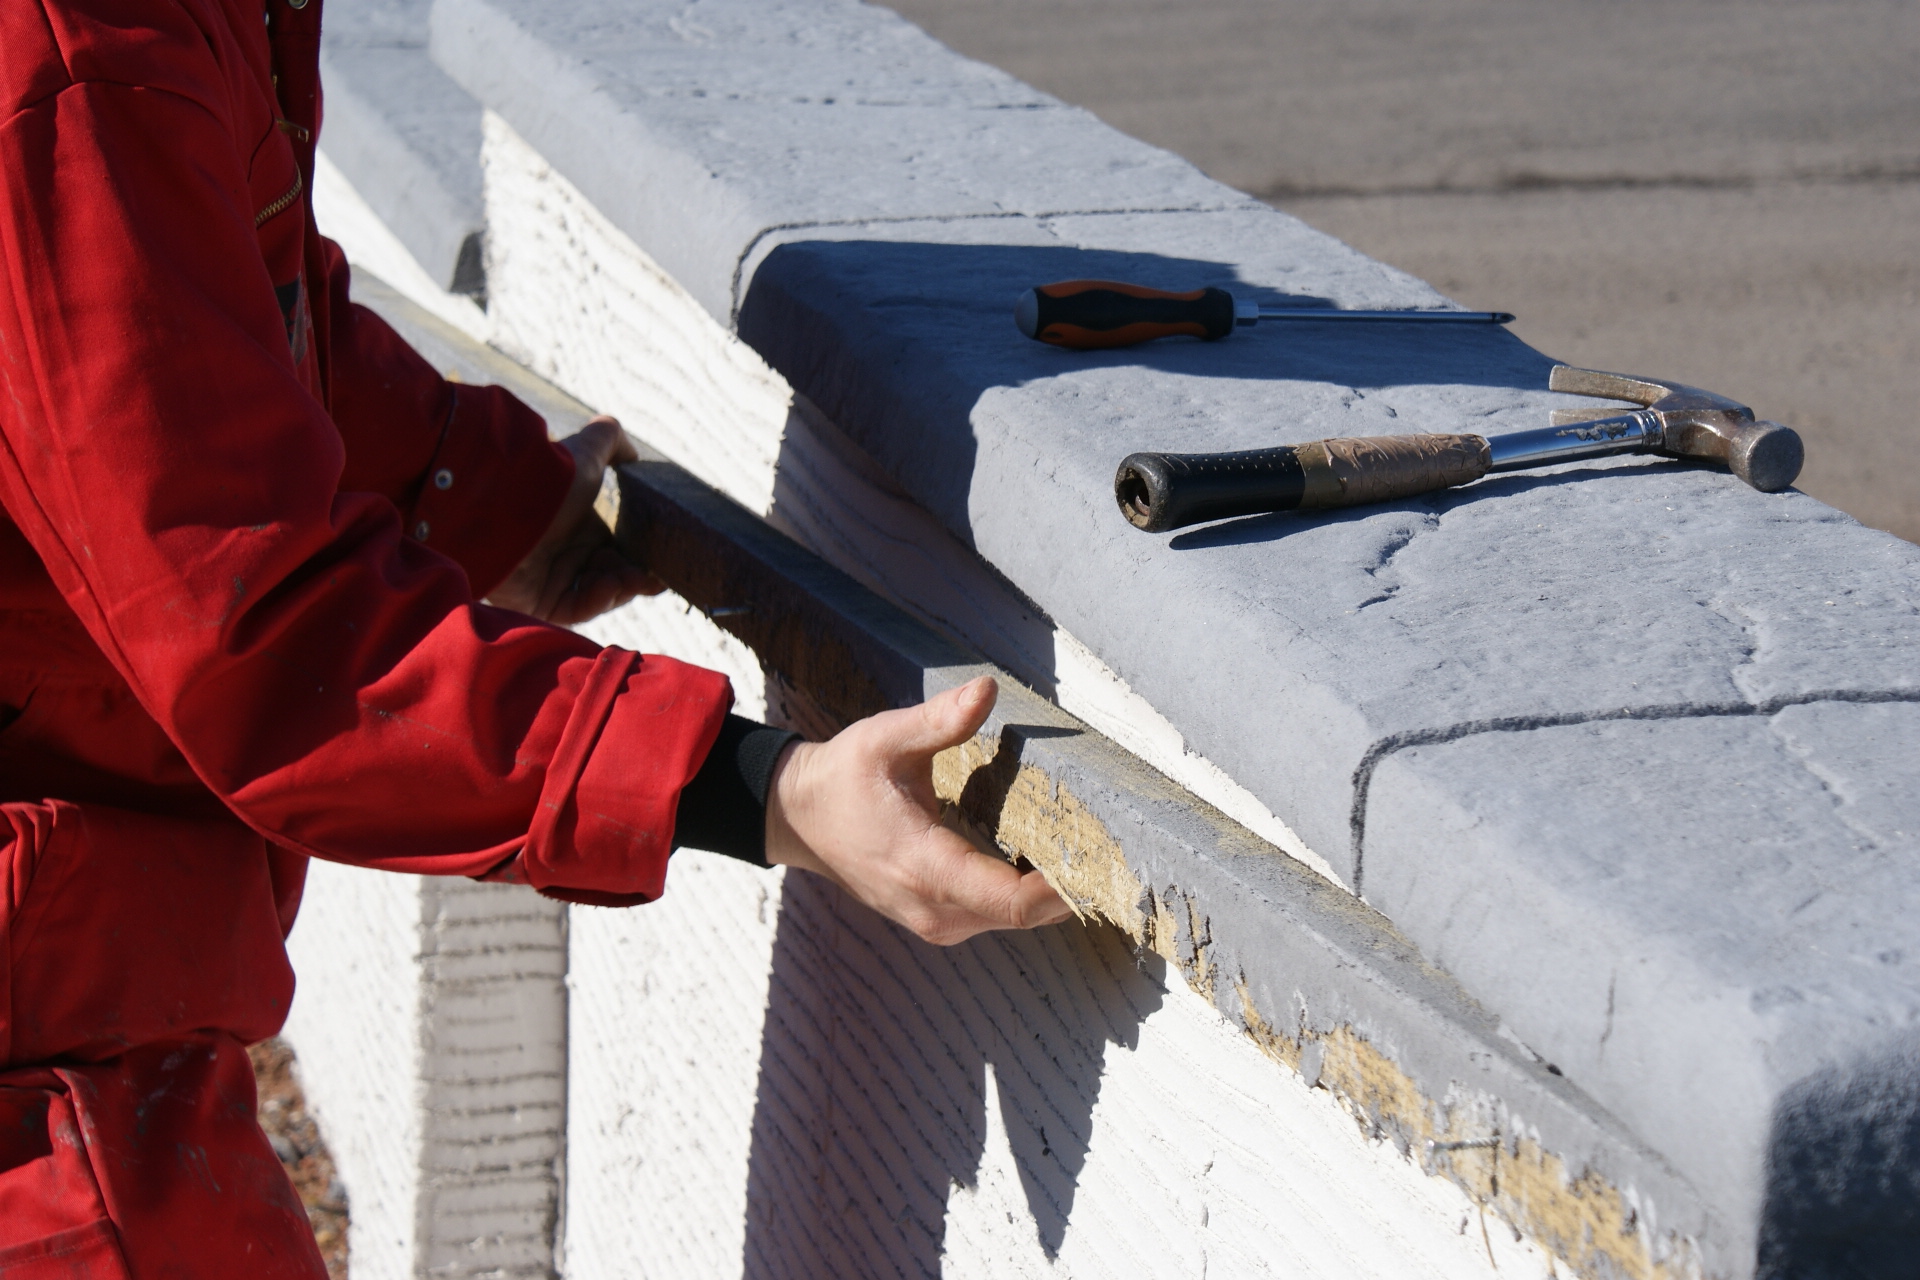
To form a coping stone, firstly secure wooden batons in place as required to achieve the required depth and width of the finished coping stone. Note that the baton needs to project from the wall at least the distance that you wish the underside of the coping stone to project from the finished wall. Regarding height, the baton can be positioned lower than the top of the wall. So, it is possible to achieve coping stone which looks like it is 50mm thick, although the Wallcrete may only be 20mm thick on the top.
Once all the batons are in place, wet and prime the existing background / scratch coat (as per clip 1, Applying a Scratch coat) and apply Wallcrete to suit (mix as per clip 1, Applying a Scratch coat).
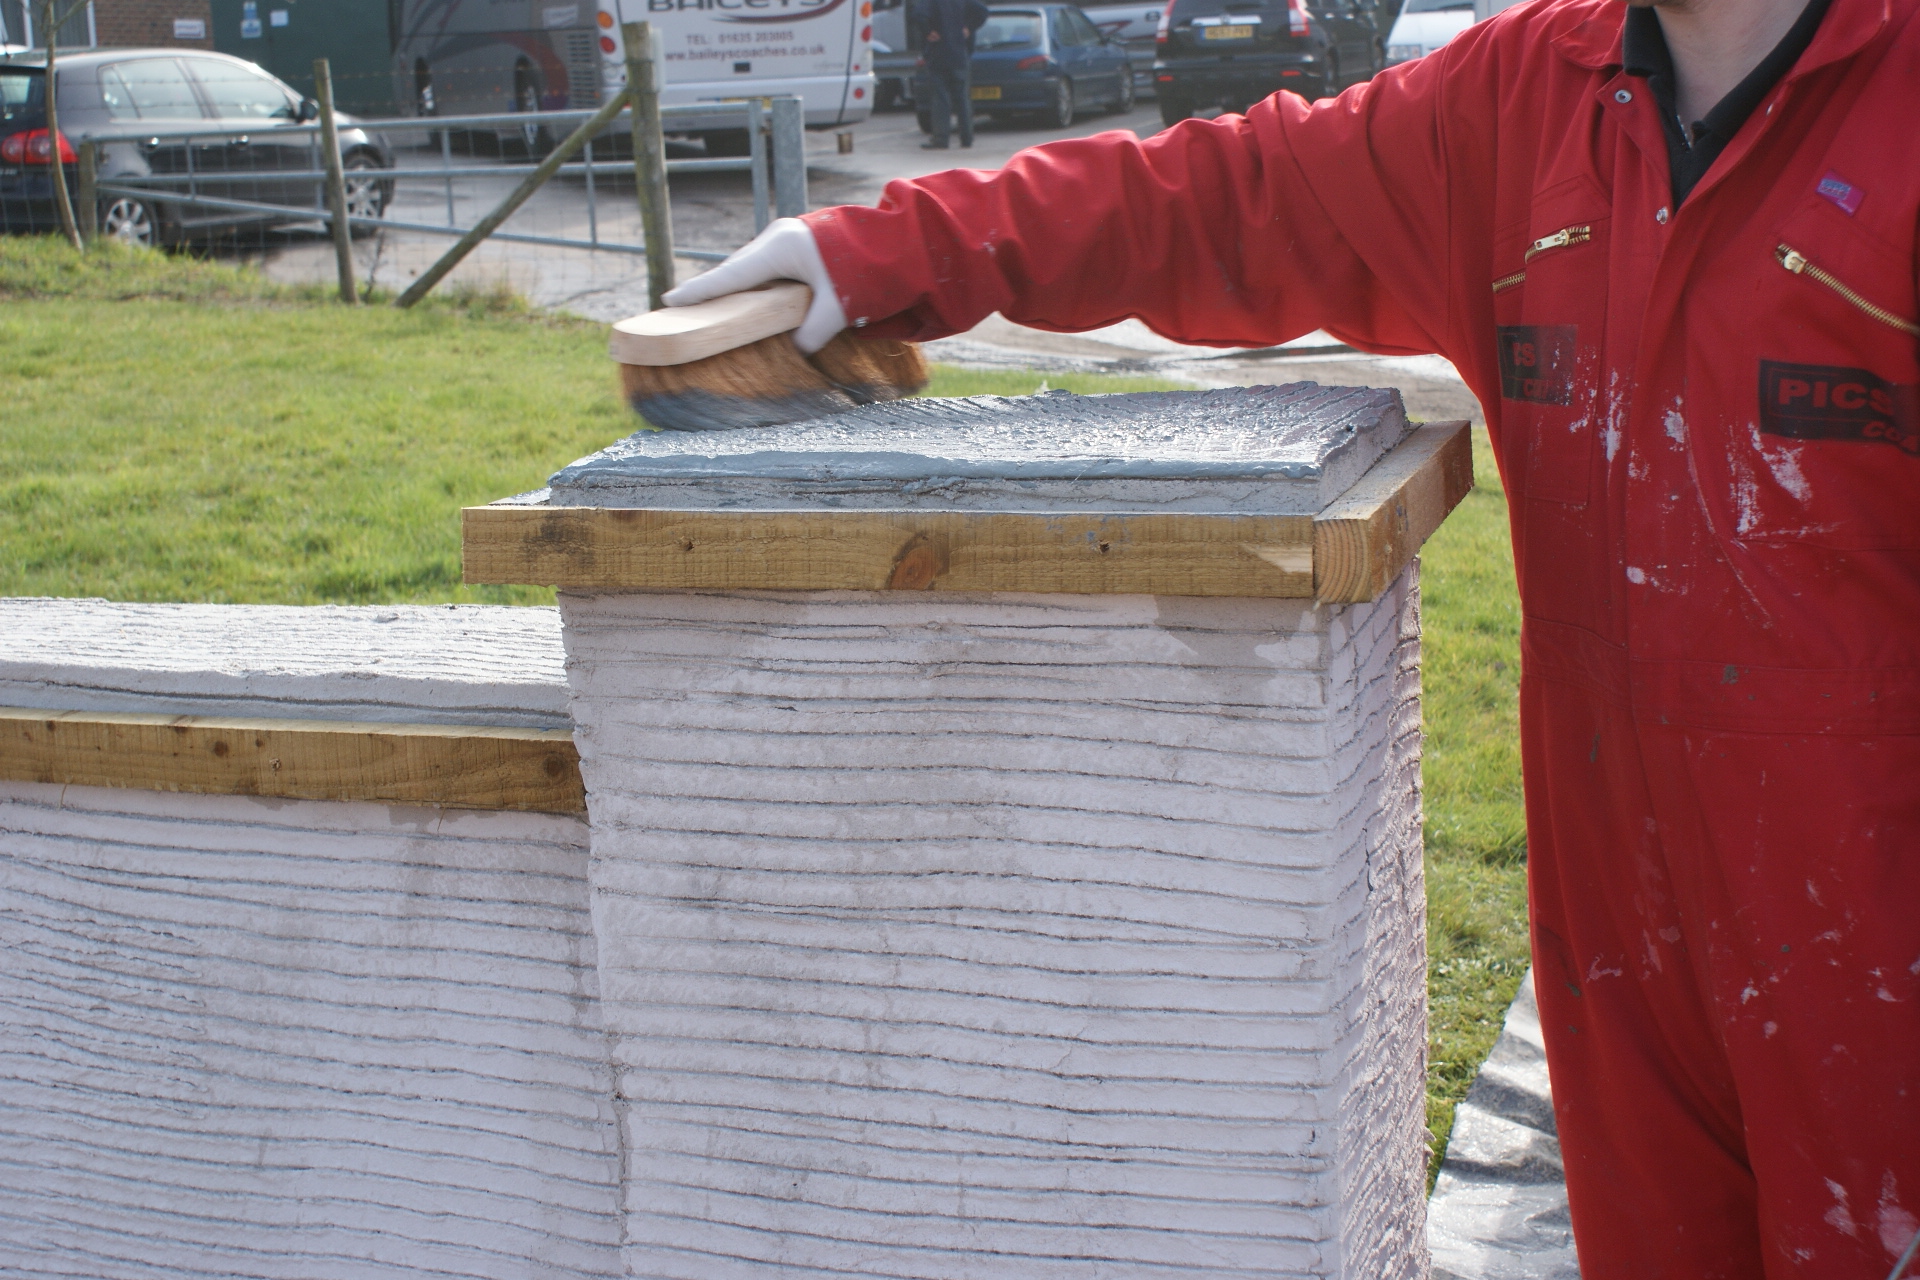
For this coping stone work, the Wallcrete render has been coloured (on site) to achieve the desired natural deep grey tone of the finished stone effect.
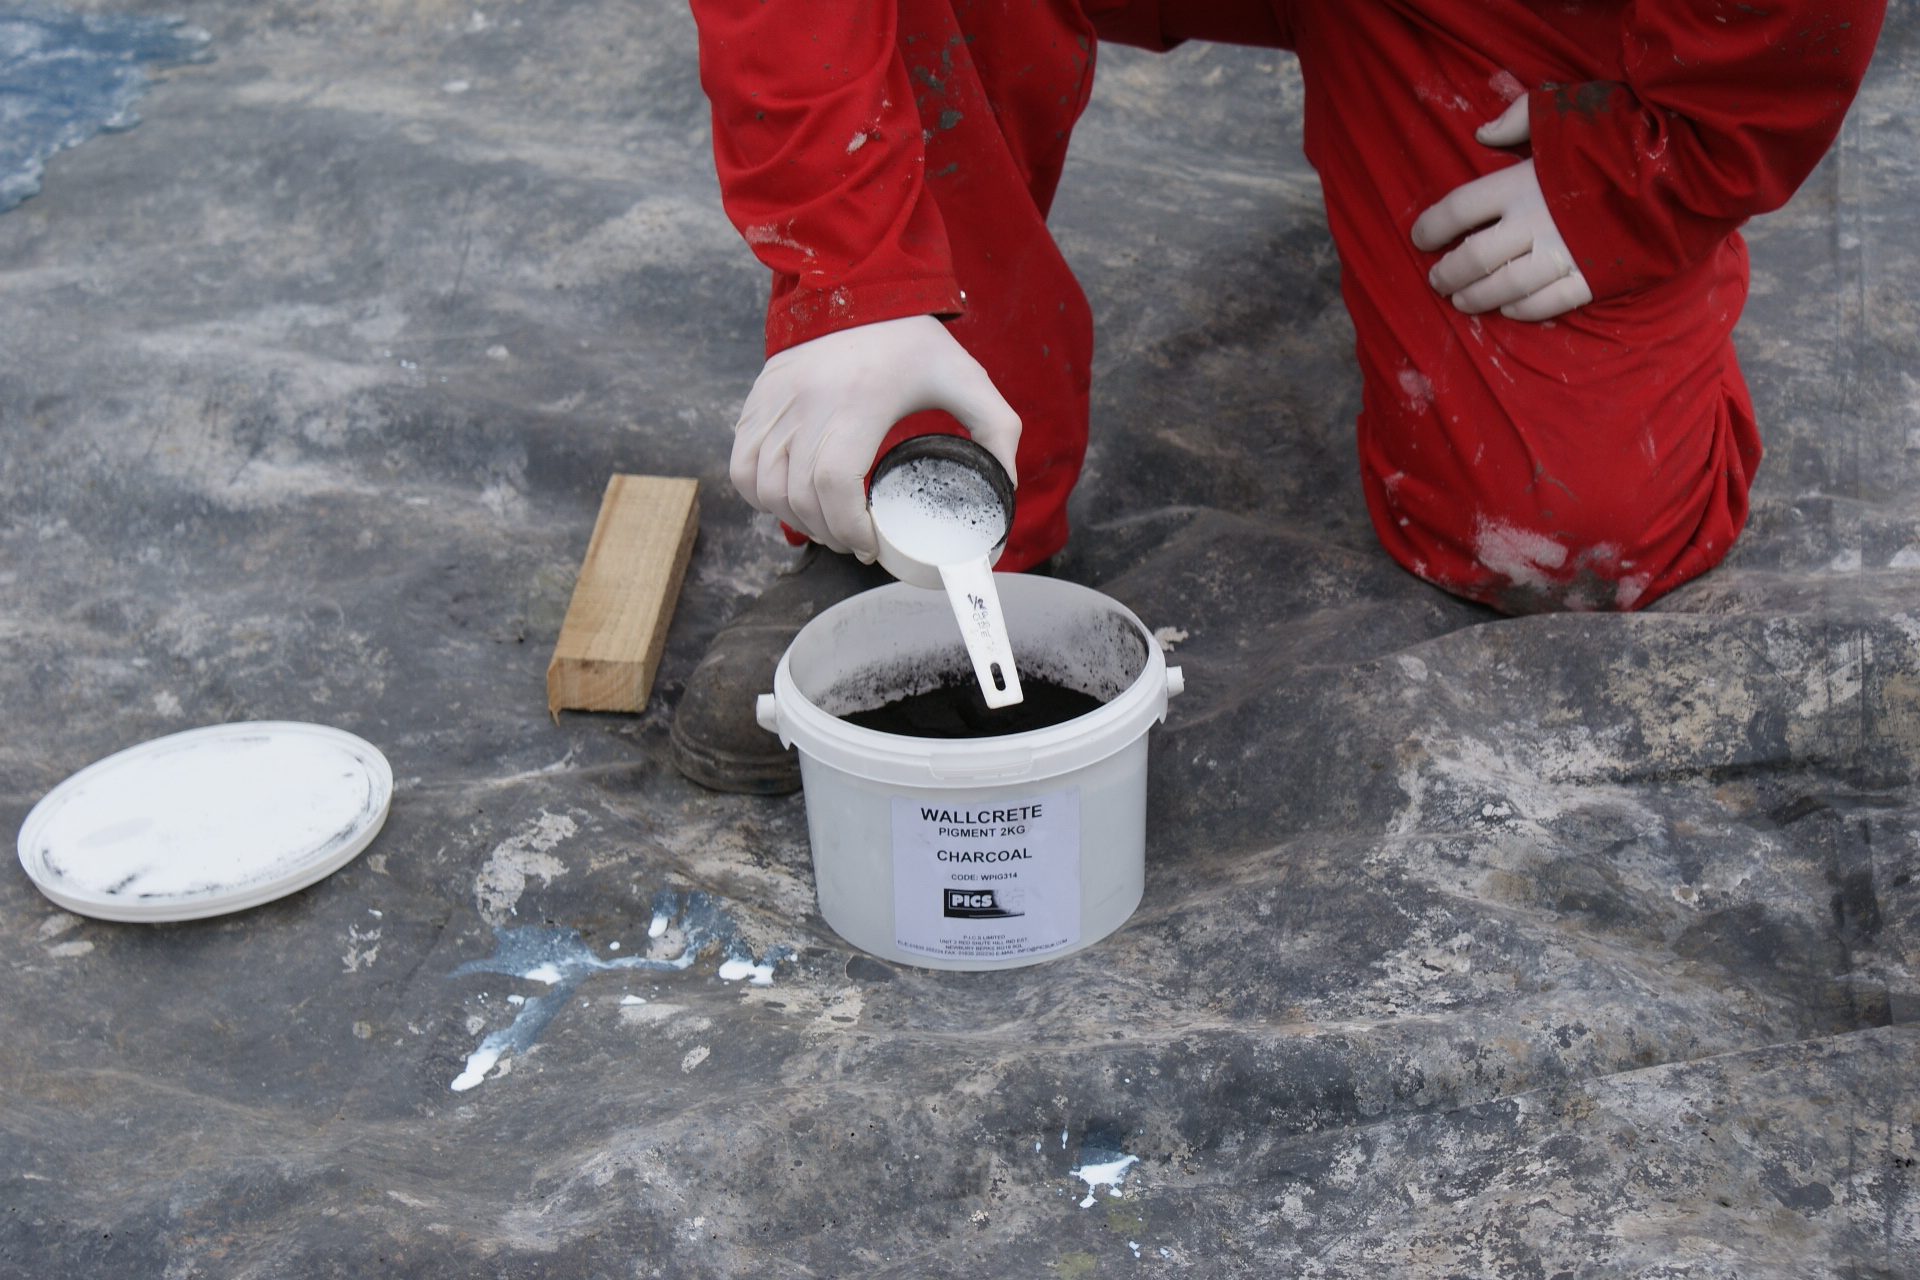
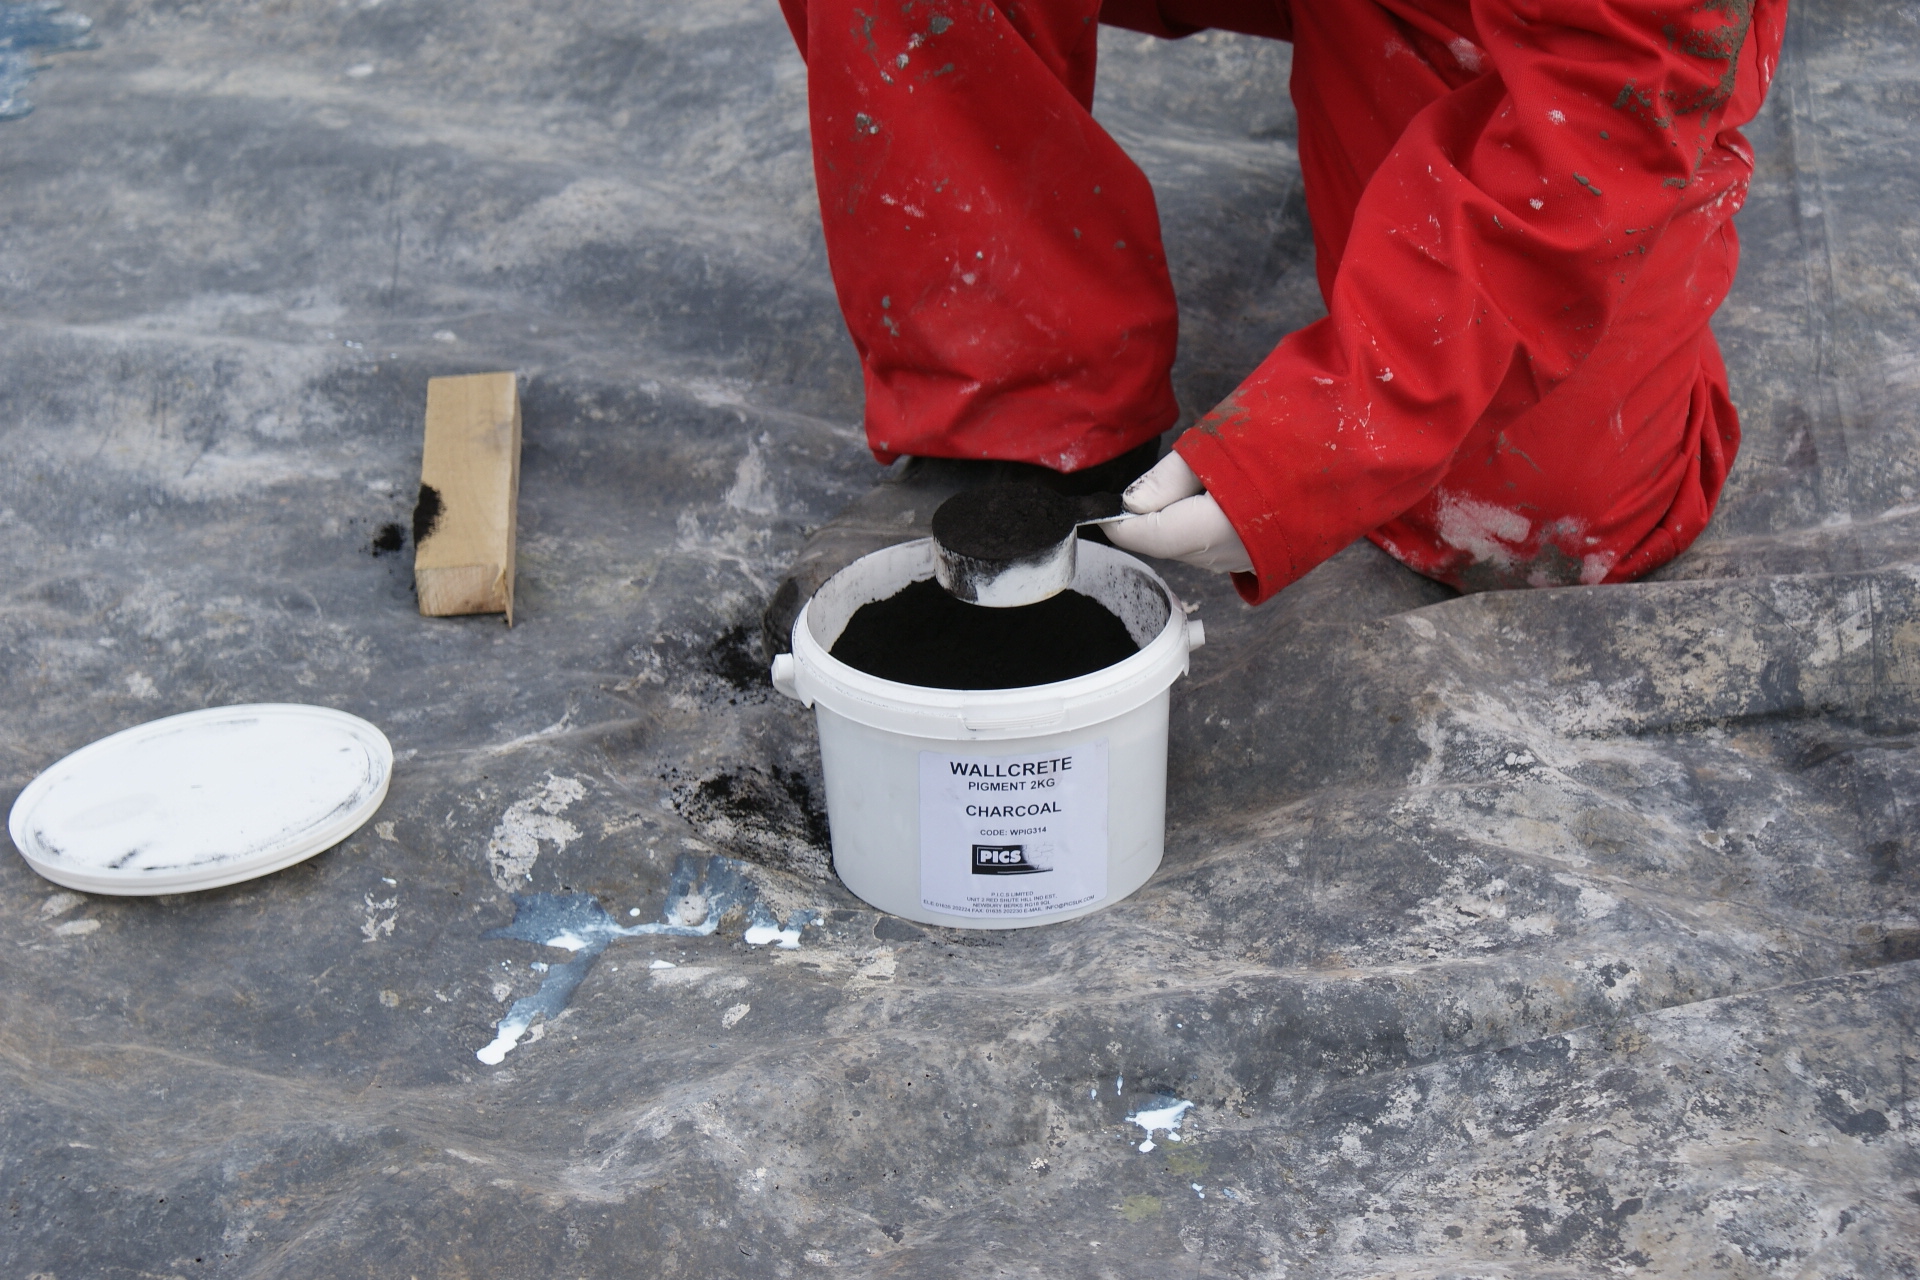
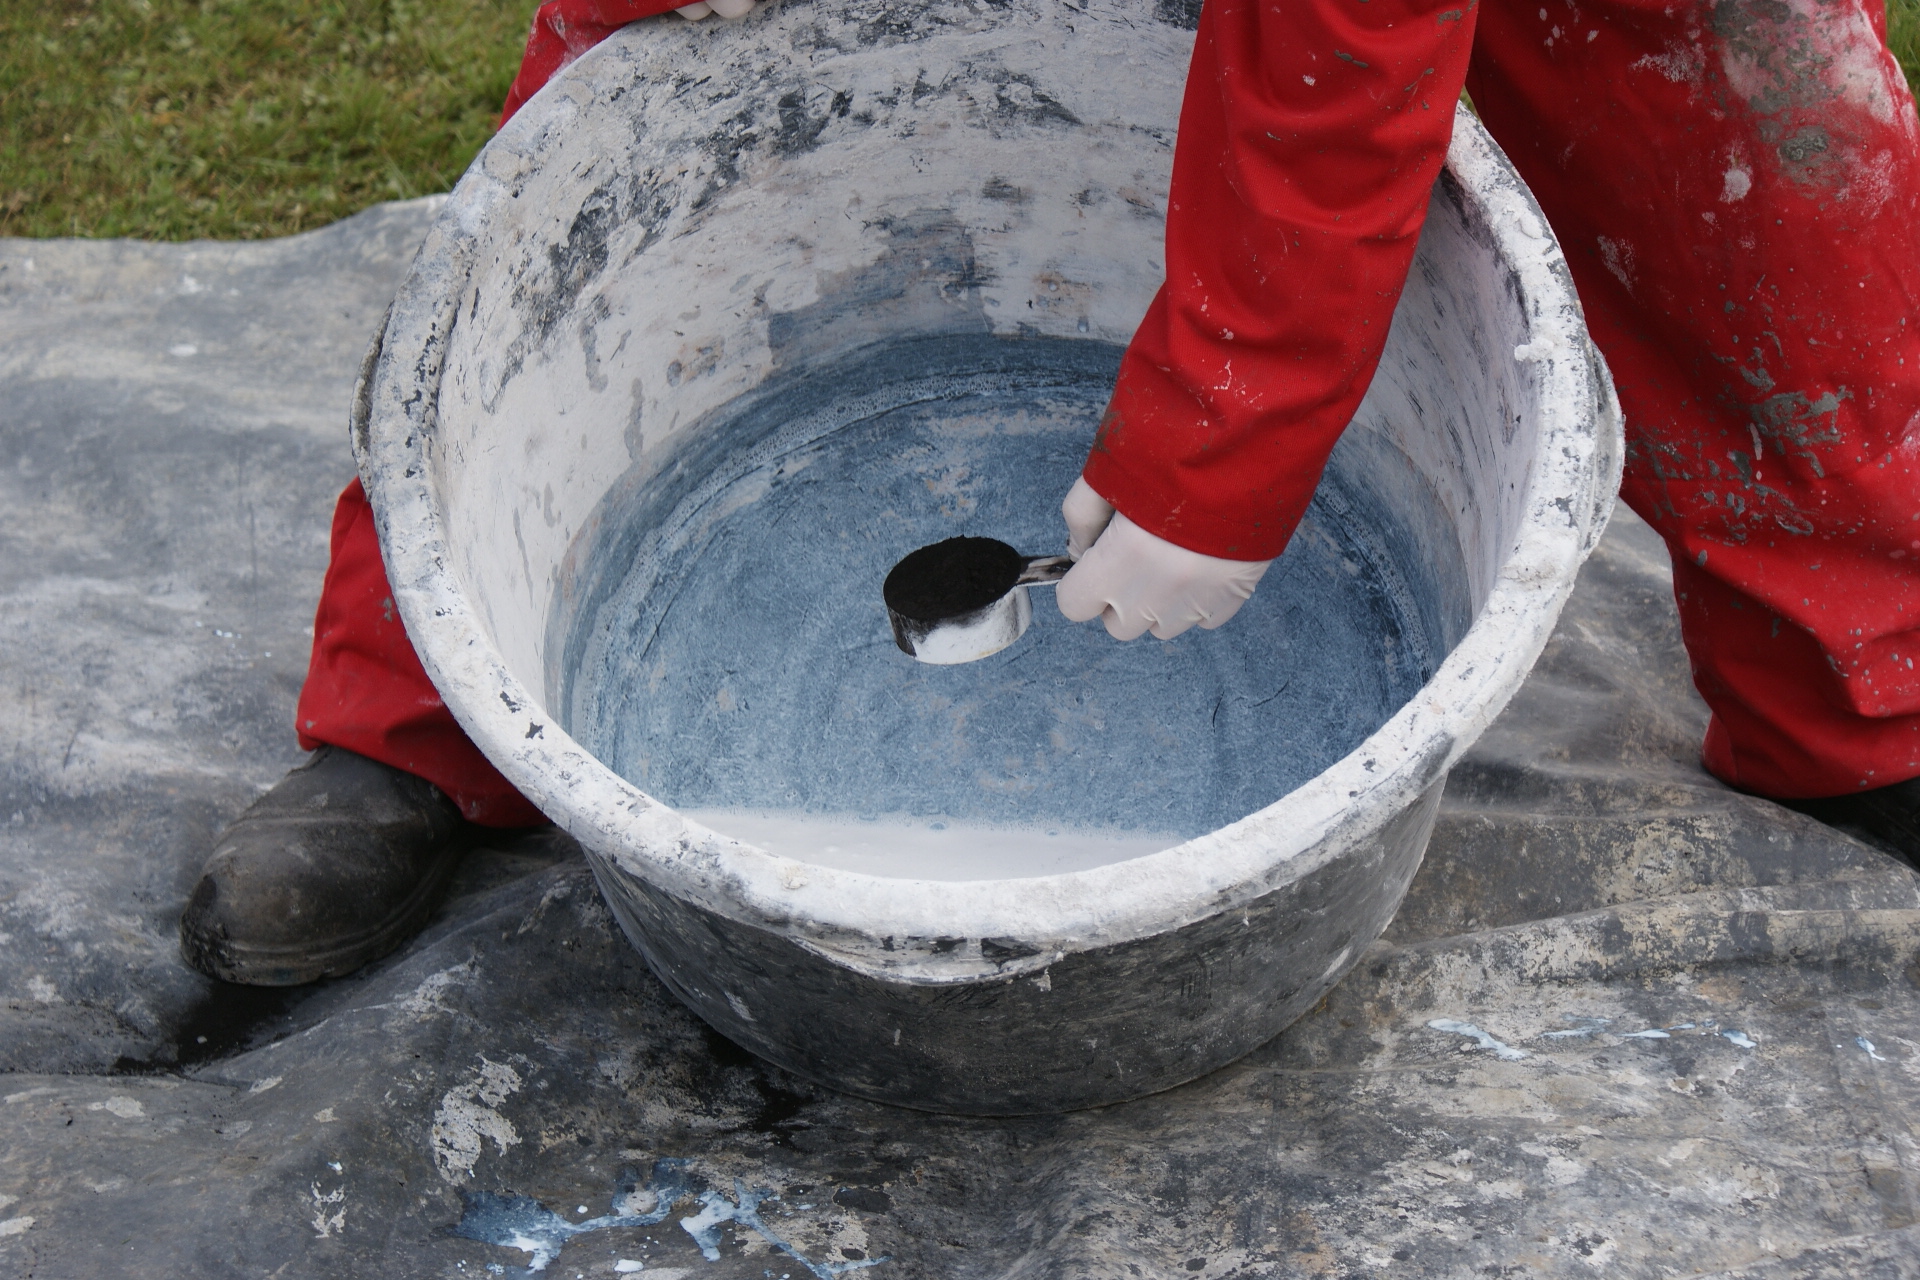
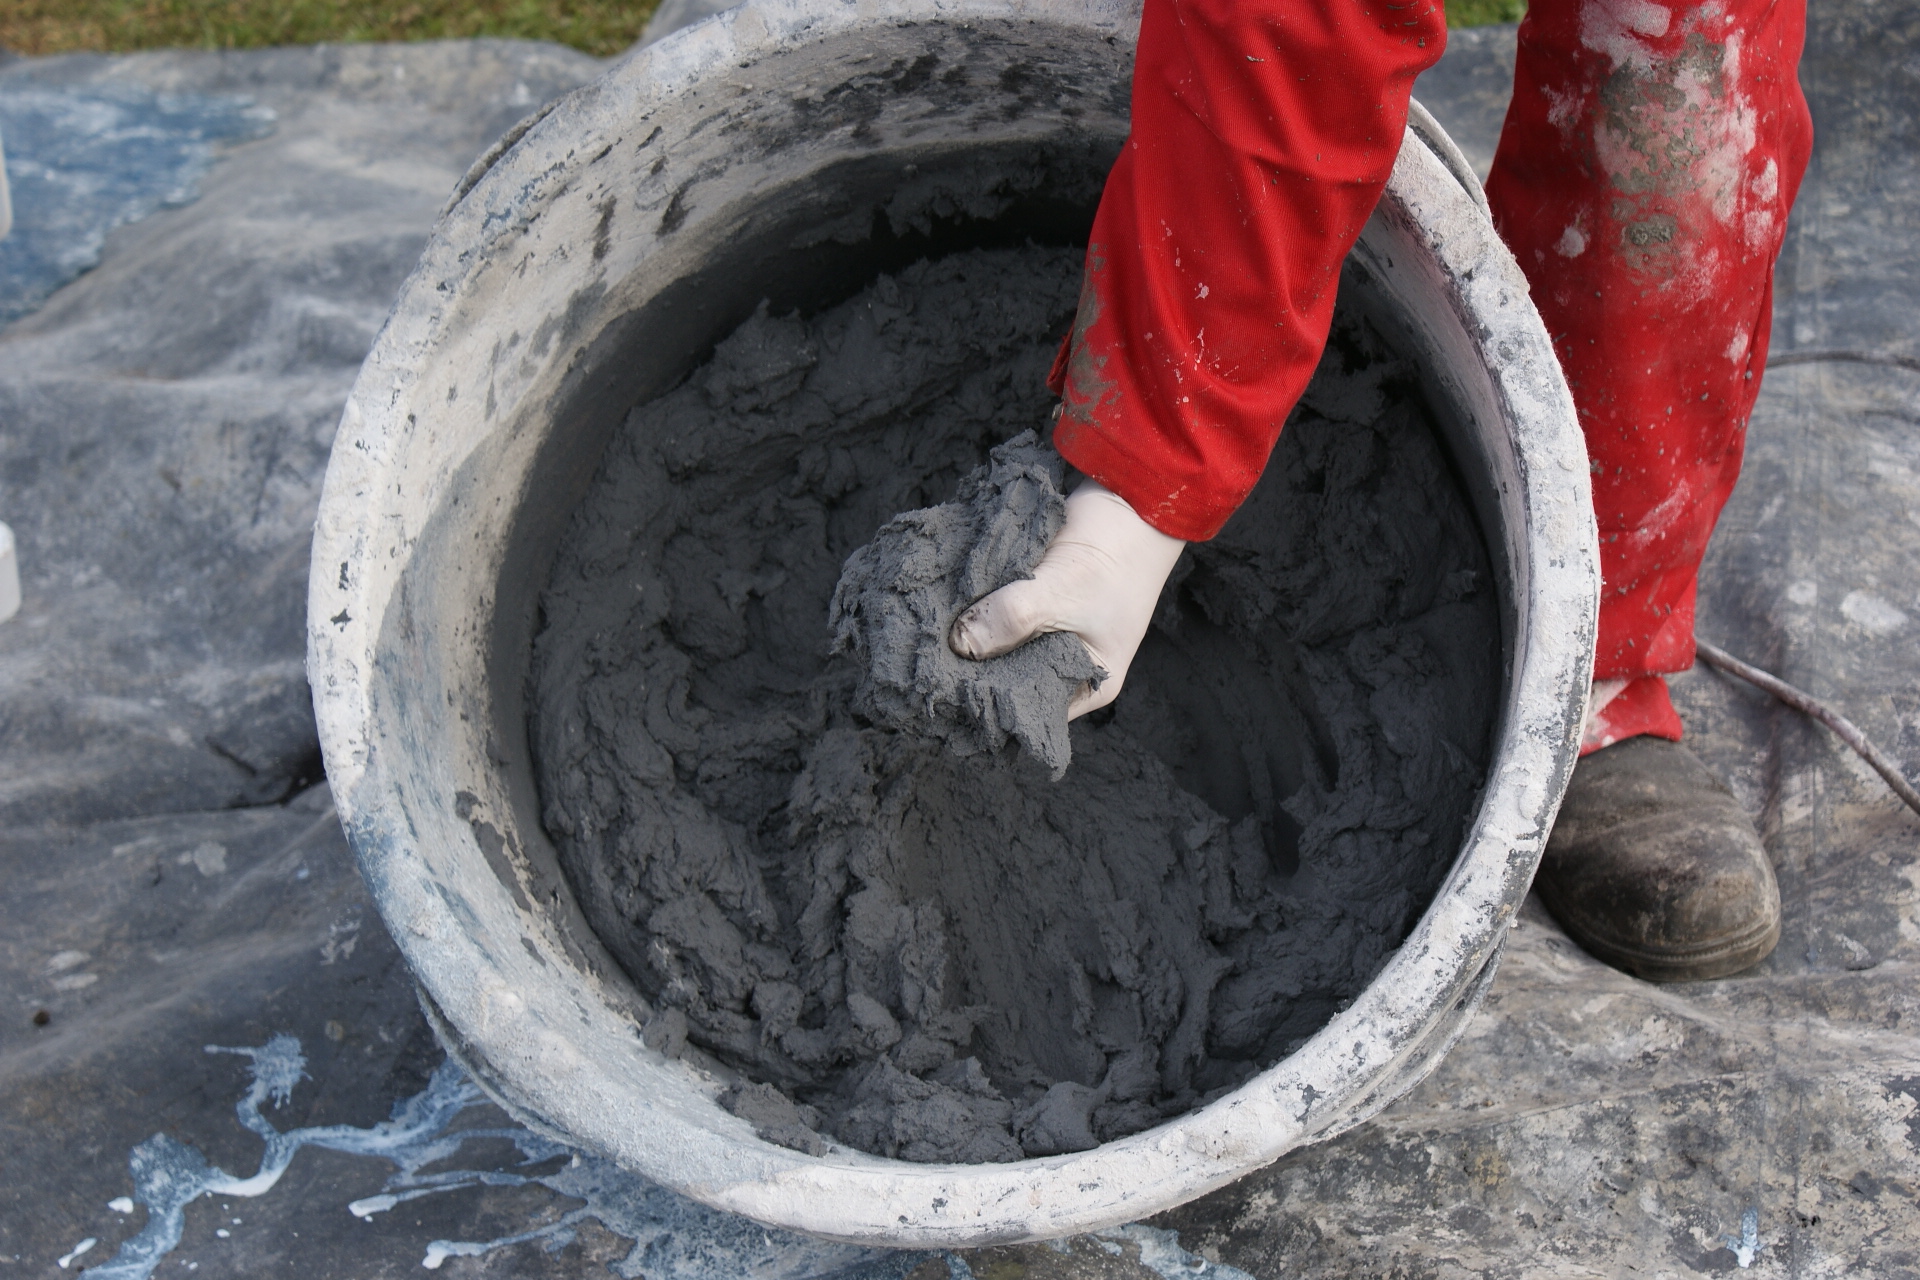
The colouring process is simple. Add the predetermined and measured quantity of Wallcrete pigment, using the Wallcrete measuring cups, to the circa 4 litres of diluted Bonding Agent (which is a white liquid). Mix this for a few seconds to produce a uniform coloured liquid prior to adding the Wallcrete powder to the liquid.
A little colouring tip here. If you’re not sure how much pigment you will require to produce a certain desired colour, as a test, colour the Wallcrete render for the scratch coat. Vary the quantities of pigment used for each bag. This will produce a range of different strengths of colour for you or your customer to choose from when you come round to producing the final finish.
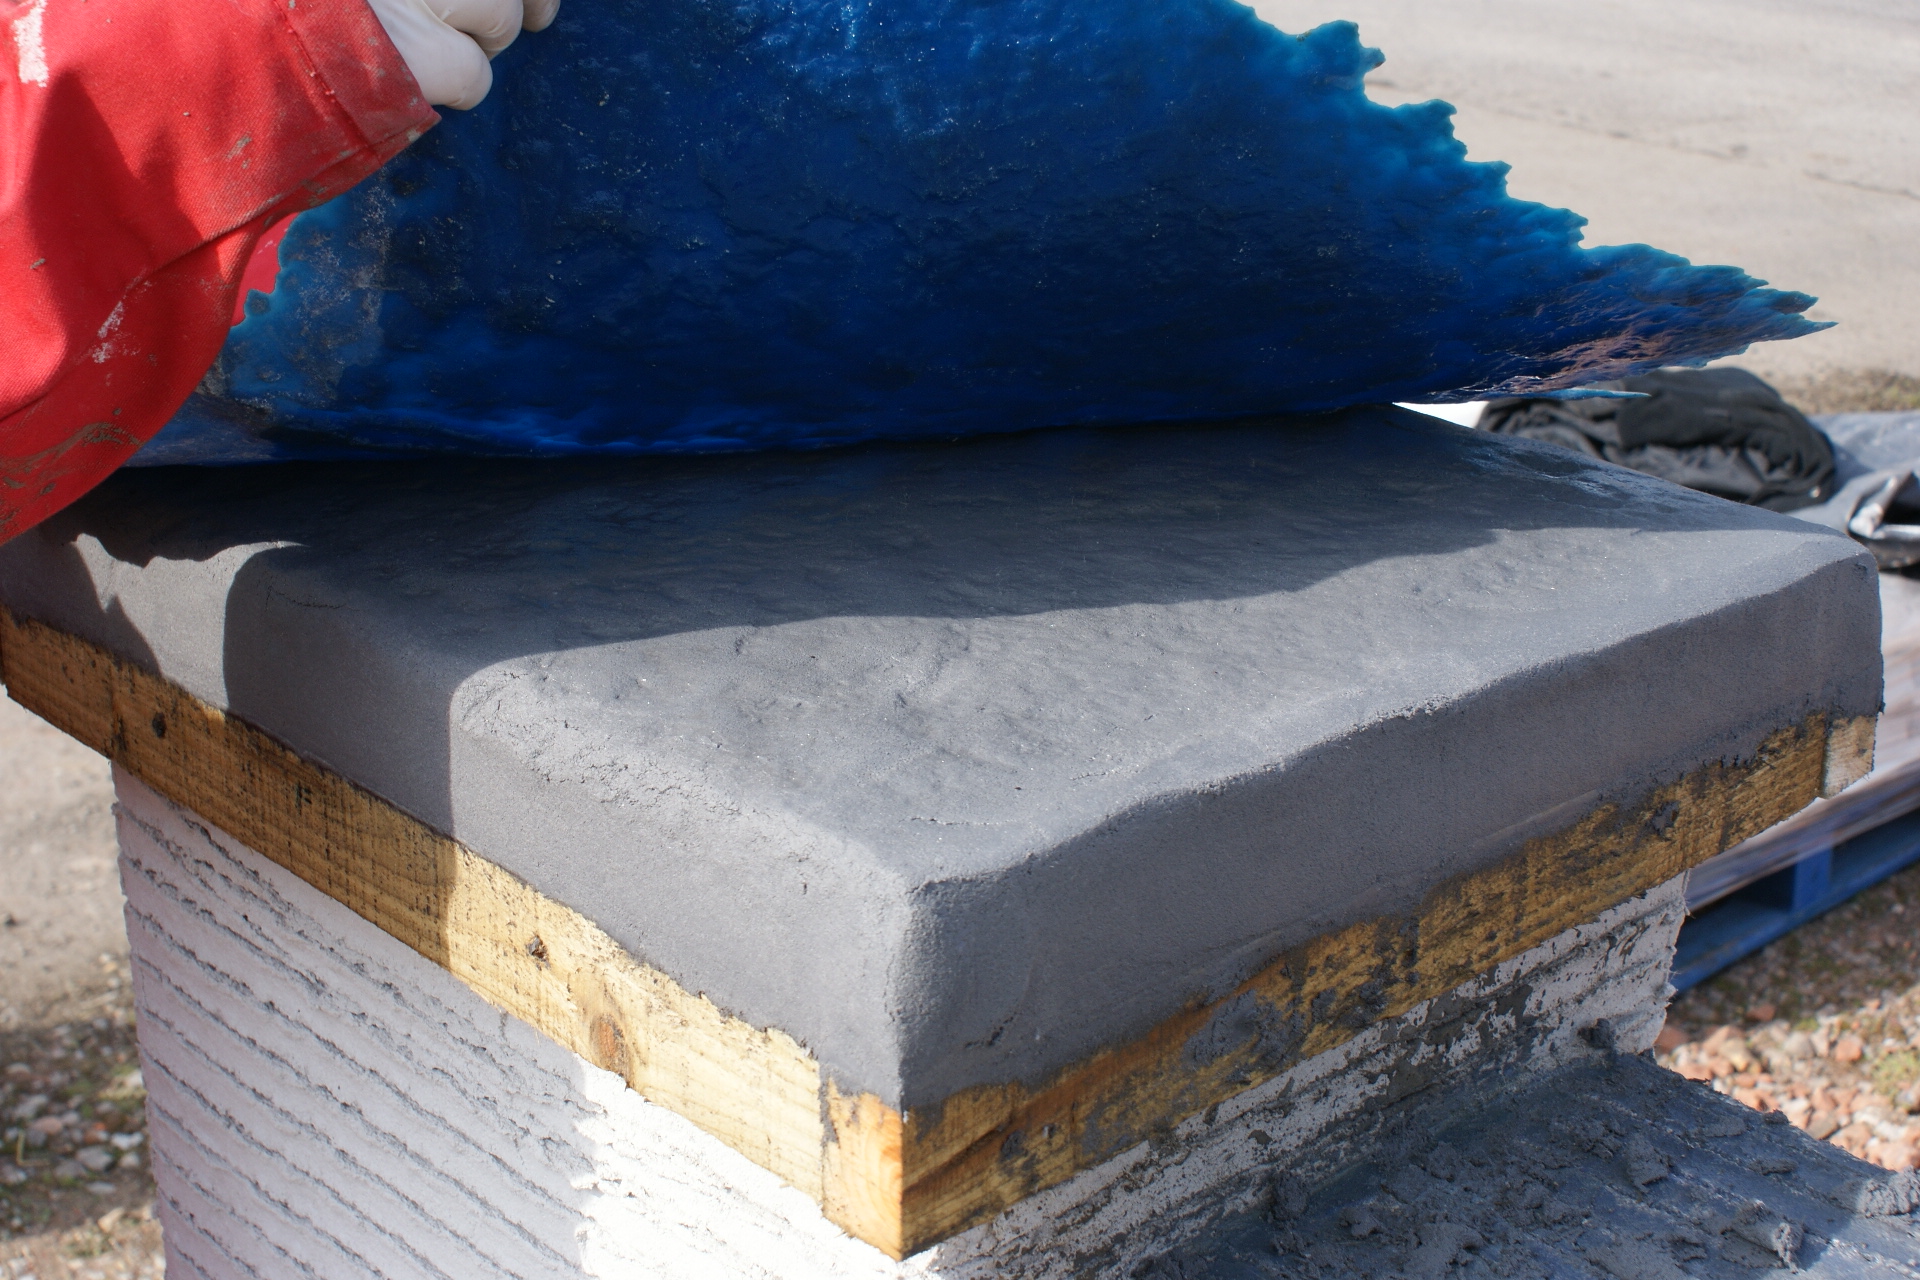
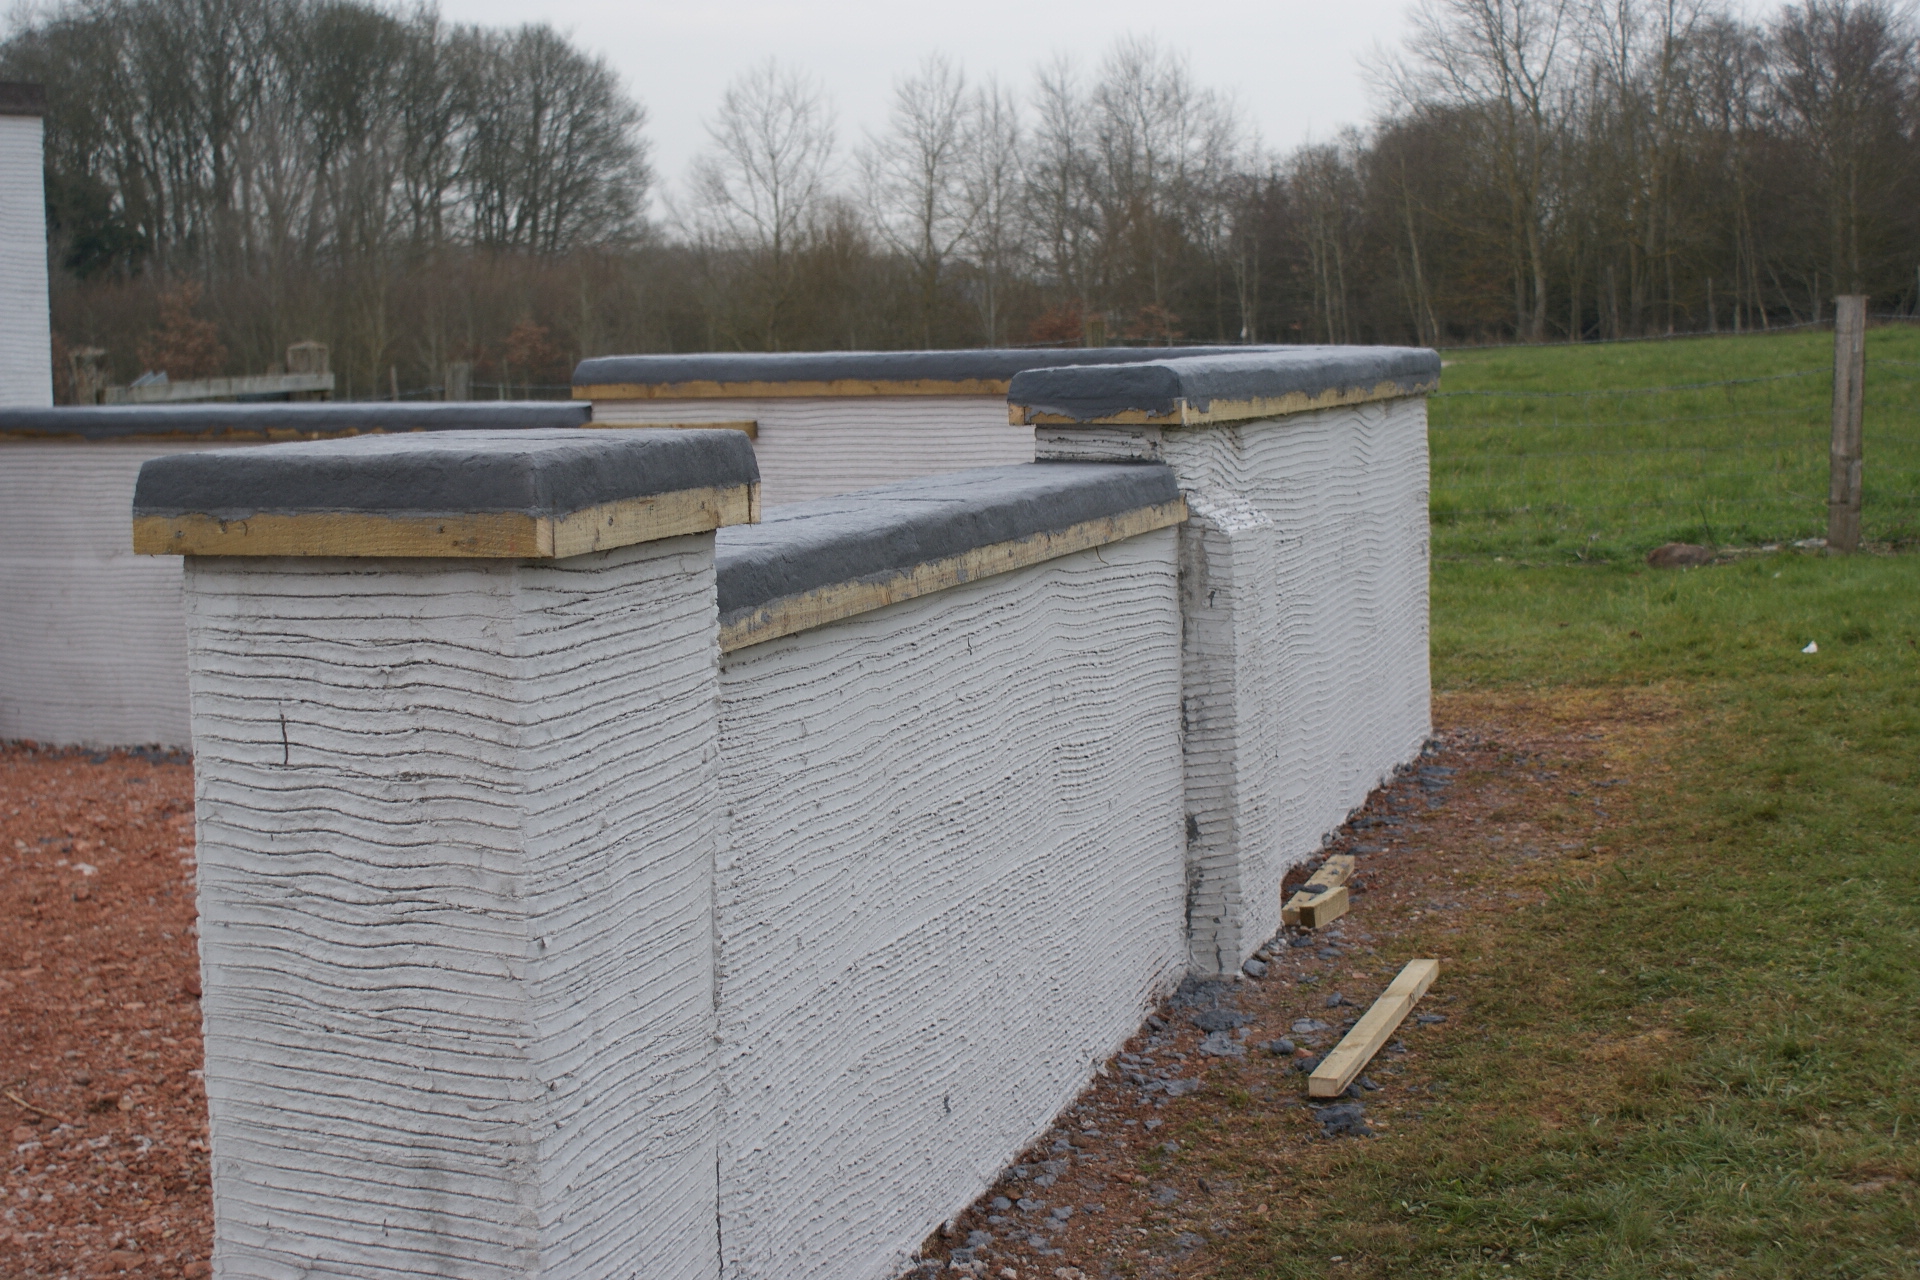
Once the coping stone is formed into shape using a trowel, liquid release agent is sprayed onto the surface and then the soft Wallcrete is textured using a rubber textured skin or texture roller, or both. When the Wallcrete reaches a certain degree of set, the joint lines are lightly marked and then carved into the partially set Wallcrete using the Wallcrete carving tools to produce the joints.
Simple!
The only difficult bit is choosing what colour and texture!
PICS hold regular 1 day Training Courses at their depots in Newbury, Sheffield and Manchester, cost is £100 per person. To book your place on the next available course (and for all other enquiries) call…
01635 202224
Look out for the next video, creating a stone effect wall.

